Renovating a Beach Boat House: 7 Essential Lessons from the Porirua Coast

Beach Boat House
When we took on the challenge of renovating a heritage beach boat house in Porirua's Titahi Bay, we quickly discovered that coastal construction comes with its own unique set of challenges. After months of working in one of New Zealand's most beautiful yet demanding environments, we've compiled the essential lessons every homeowner and builder needs to know before tackling a seaside renovation project.
1. The Tide Waits for No One
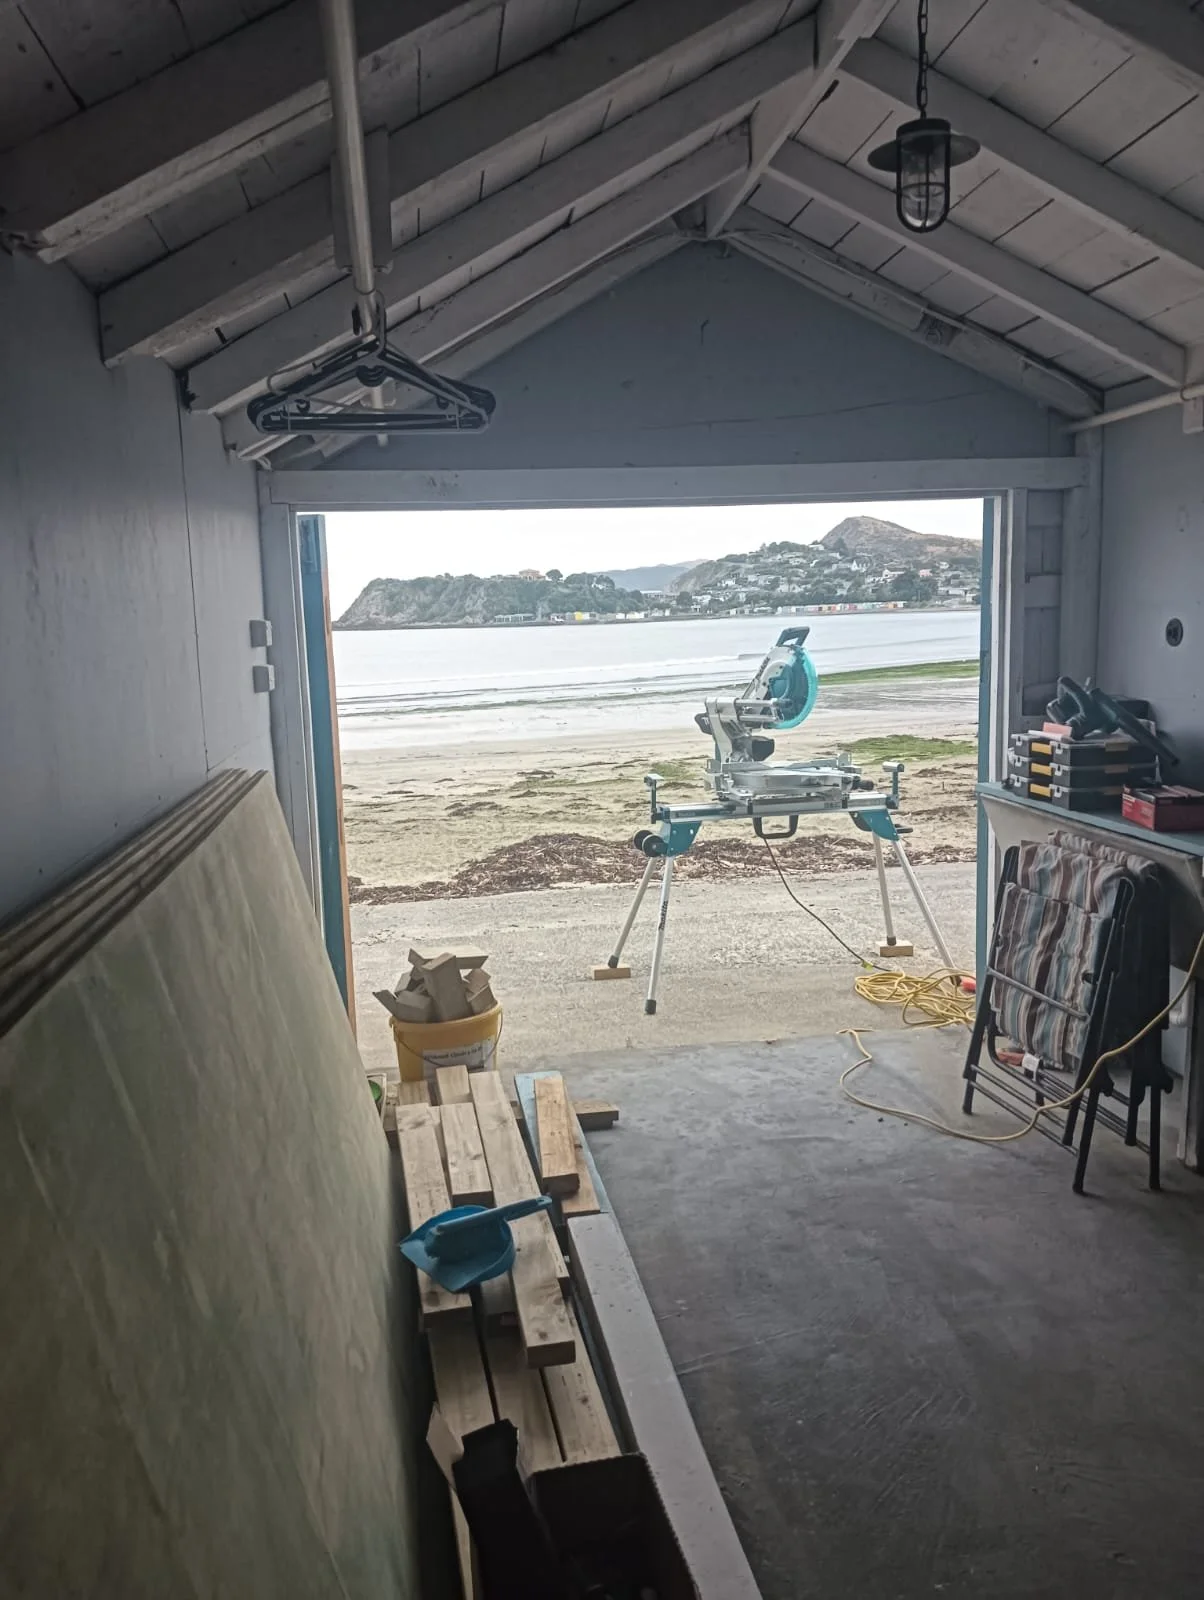
The most fundamental difference between renovating a suburban home and a beach boat house is simple: the sea doesn't follow your schedule. During our Titahi Bay project, there were multiple occasions when rising tides forced us to pack up tools mid-task and call it a day as water lapped at the doorframe. Our recommendation: Always check tide charts before heading to site. Plan your most intensive work periods around low tide windows, and have a clear strategy/plan for tools and materials when the water rises. We used the weather information from NIWA to plan low and high tide accordingly and tagged tasks that were high priority during low and any overhead work during high.
2. Protecting Your Investment: Tools vs. Sea Water

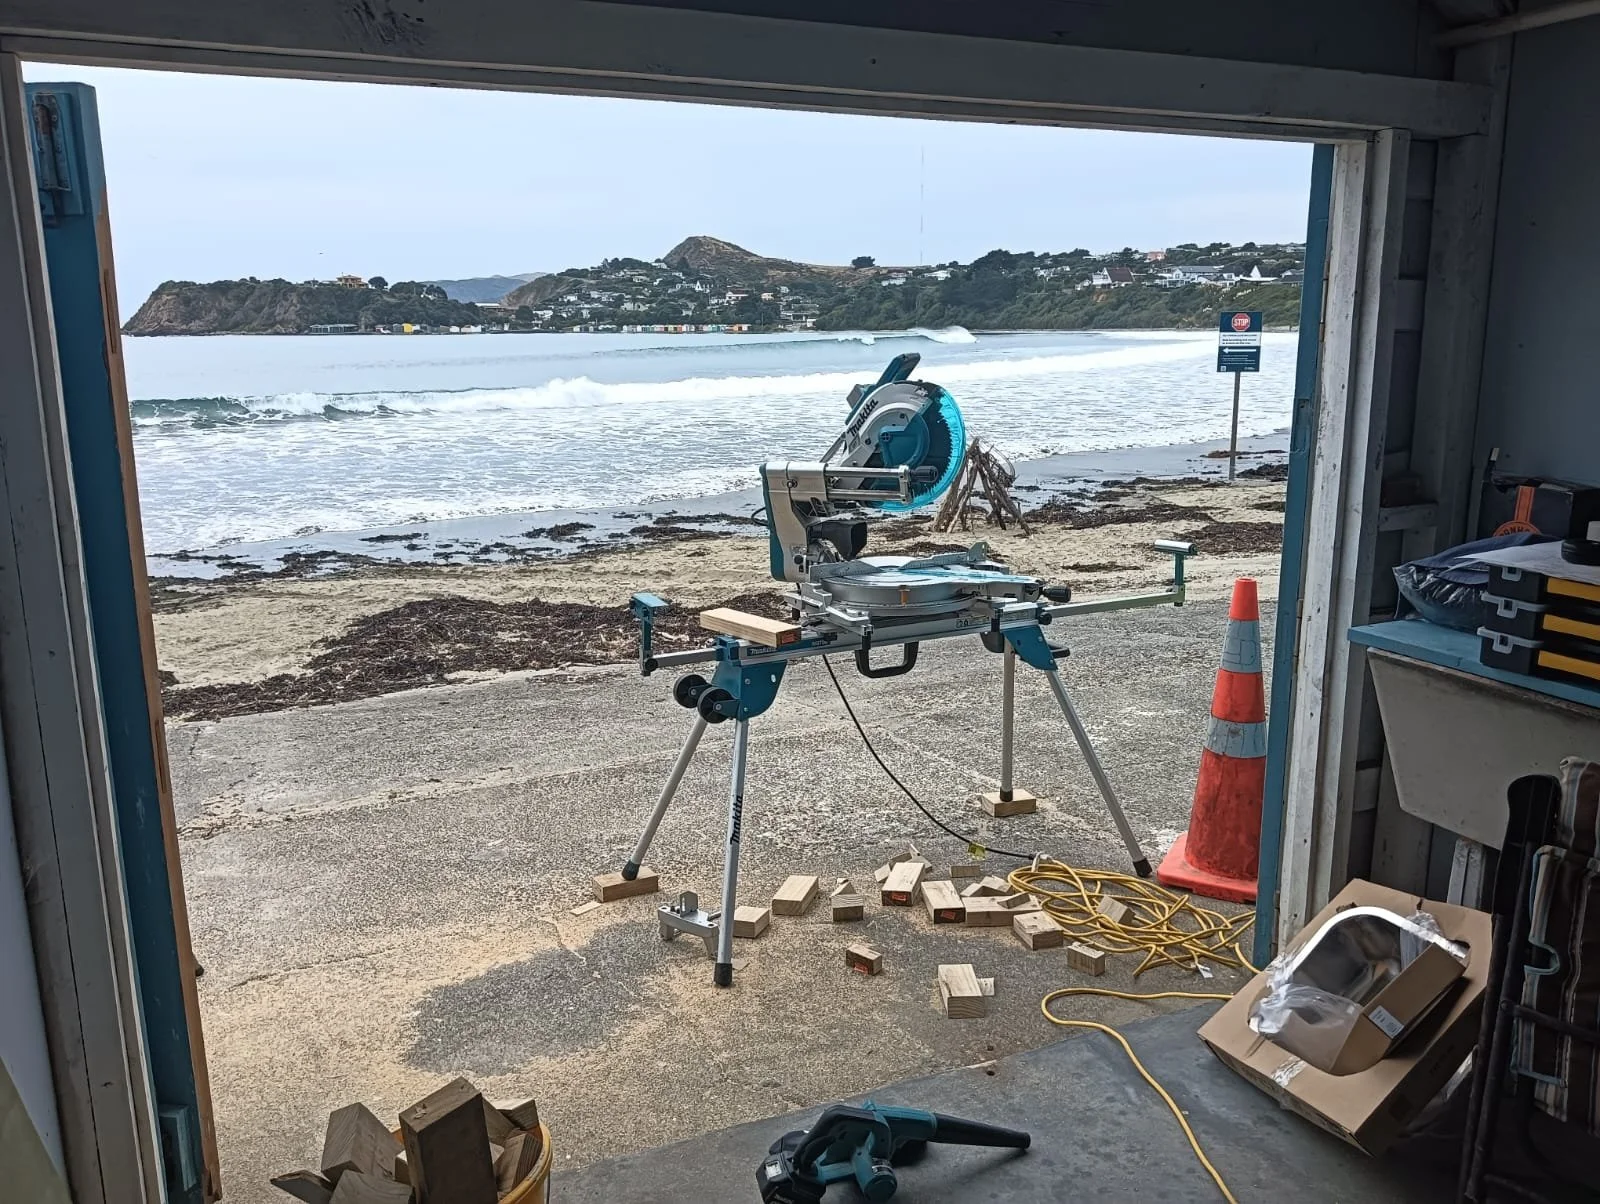
Sea spray, salt air, and sand will find their way into every tool, every crevice, and every piece of equipment you bring to a coastal site. We learned this lesson quickly when some of our premium gear started showing signs of corrosion after just a few weeks of exposure.
What we did: We invested in waterproof tool storage and religiously cleaned and oiled our equipment after each day. For high-value tools, we kept them at the workshop when not in immediate use and made to wipe down, dry or clean any tools. This is particularly important for tools that have moving parts with ‘ball-bearing’ such as a drop saw rail. Consider this an operational cost of coastal construction – factor tool protection or potentially using cheaper alternatives to ensure your premium gear is not being exposed regularly to harsh coastal conditions.
3. Access: Your Lifeline to Success
Vehicle access can make or break a coastal renovation project. We were fortunate to have a 4WD ute with all-terrain tyres as well as parking access through nearby reserves, but we witnessed several other beach goers get 2WD vans stuck in sand when unexpected tidal surges softened the sand and caught them off guard.
Essential access planning:
Use a 4WD vehicle when accessing a beach property via the beach
Scout multiple access routes in case your primary route becomes impassable
Keep emergency recovery gear (shovel, traction mats) in your vehicle
Coordinate with other trades to avoid multiple vehicles accessing soft sand areas simultaneously
4. Materials Matter: Galvanized and Stainless for Everything
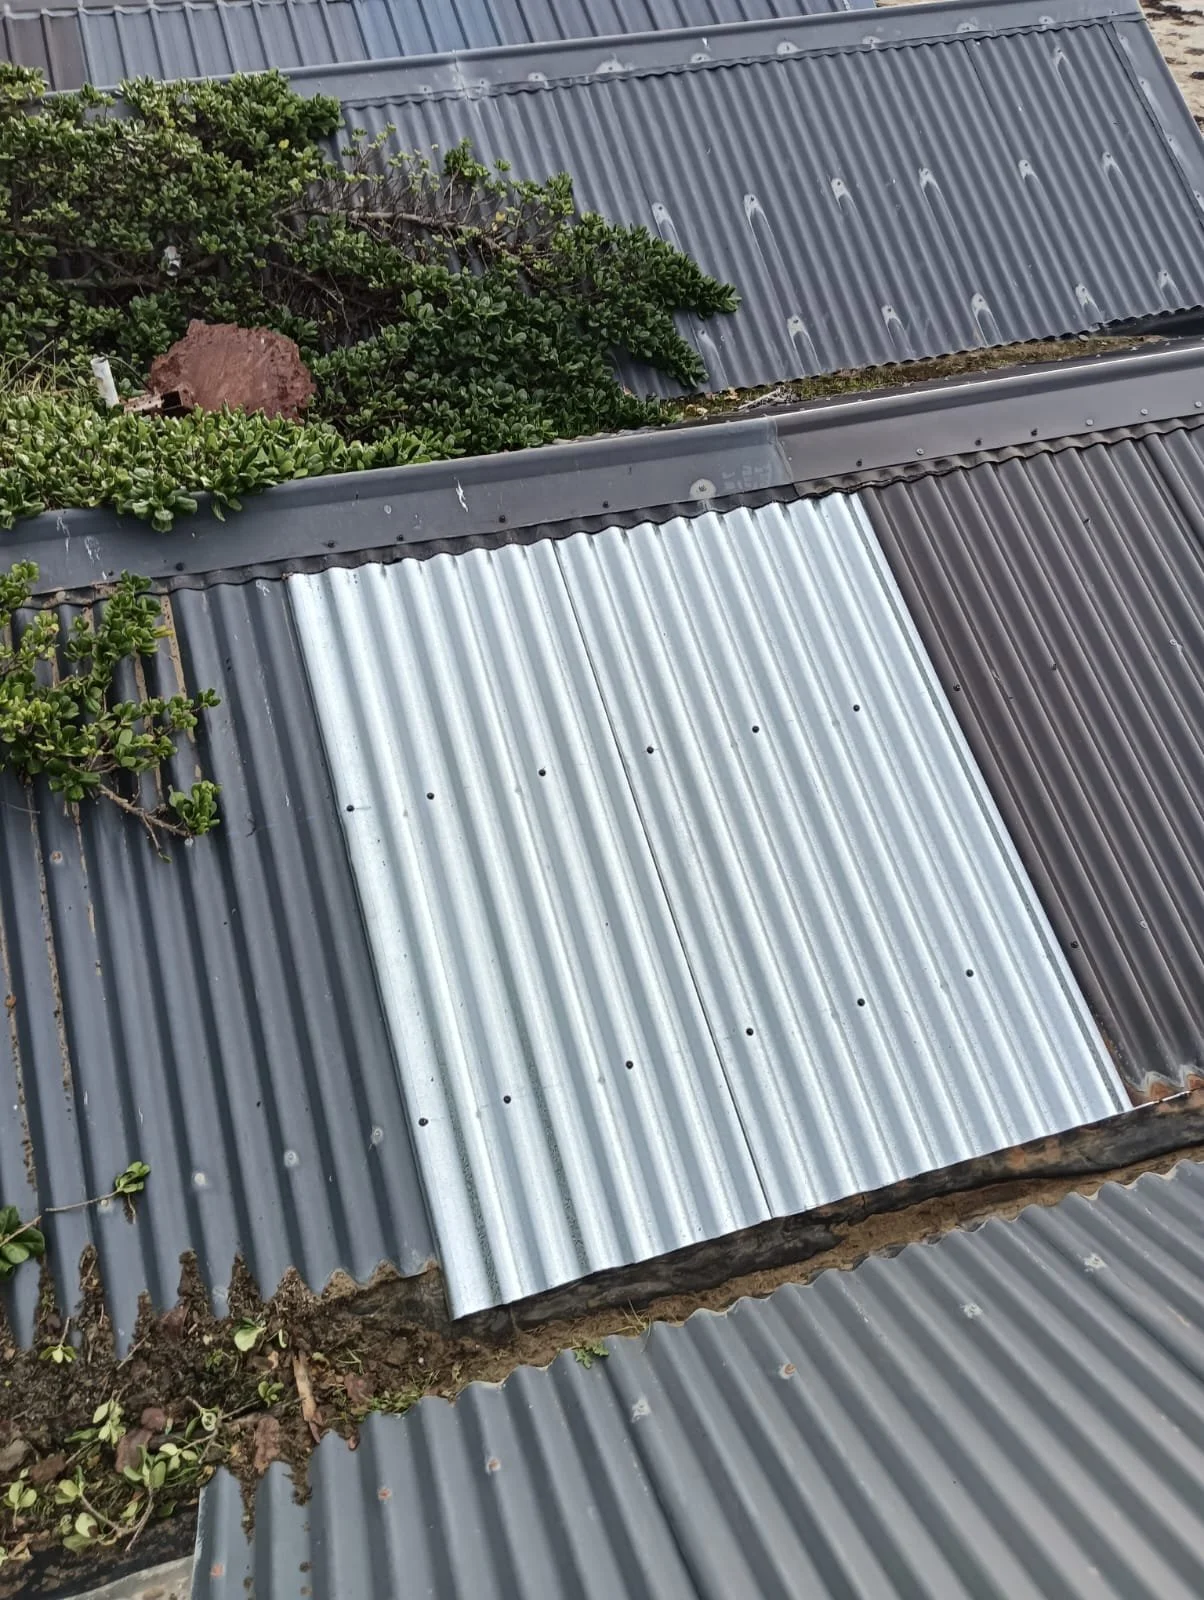
Zinc Alum roof repair with galvanized tek screws and marine grade silicon where required
In a coastal environment, standard building materials simply won't survive. Every fixing, every piece of hardware, and every structural element needs to be specified for marine conditions.
Our material choices:
All fixings: galvanized or marine-grade stainless steel
Timber: H4 treated for anything touching sand/ground contact with seawater (H5 for pier construction if you're going all-out)
Plywood: Our client chose Meranti plywood for its natural seawater resistance – the same material used in yacht interiors
Adhesives: Marine-grade only
Hardware: Brass, bronze, or marine-grade aluminum, our plumber used copper for the plumbing
Yes, these materials cost significantly more than standard "brights," but the longevity and performance difference in a salt environment makes them essential.
5. Smart Drainage: Planning for the Inevitable
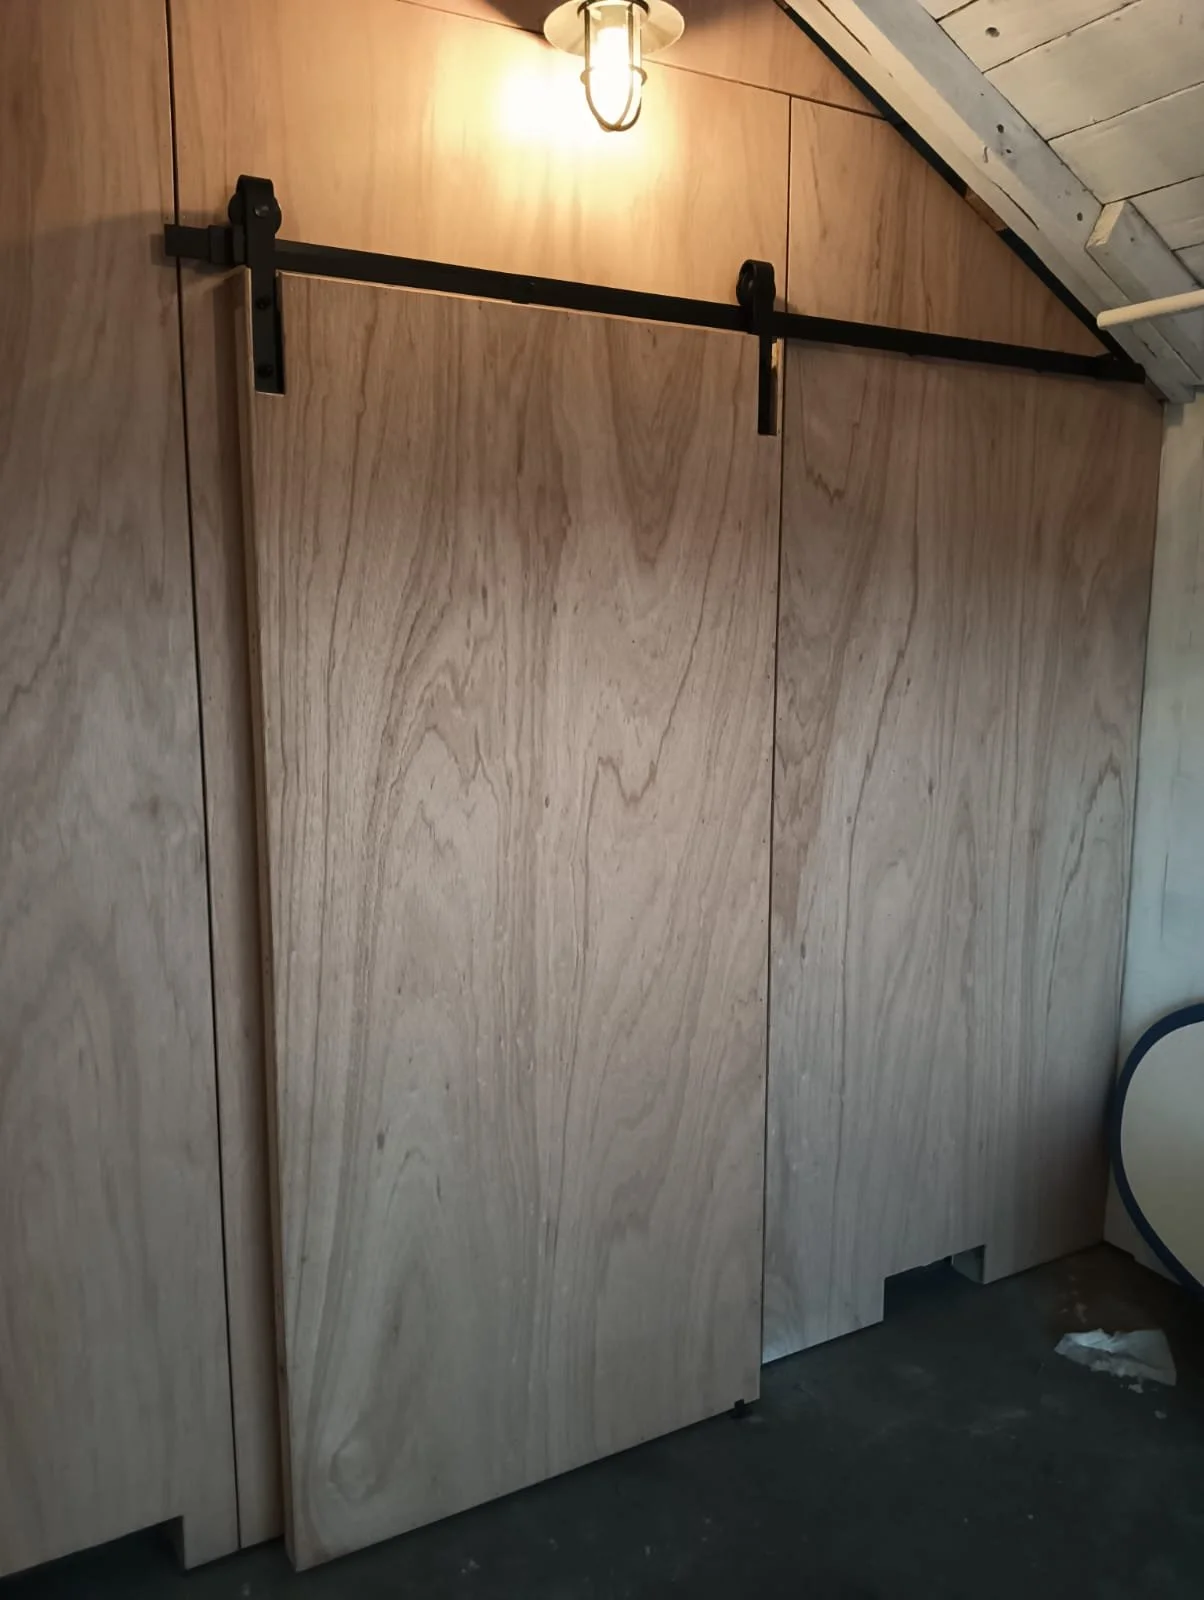
Drainage penetrations left at base of framing
Our client's request for drainage holes in the partition walls seemed unusual at first, but it proved to be practical. Storm surges and king tides will occasionally flood beach structures – it's not if, but when.
Drainage strategy:
Install discrete drainage points to allow water to exit naturally
Position drainage to work with the natural slope of the site
Consider the dual purpose: drainage holes also make cleanup easier (perfect for blowing out sand and dust)
Ensure drainage doesn't compromise structural integrity
Use marine-grade drain fittings that won't corrode
6. Material Storage: Keeping Resources Dry and Secure
All material propped up on timber stays, removed from site when not in use
The unpredictable nature of coastal weather makes material storage particularly challenging. We opted to keep most materials at our workshop and transport them as needed, but this isn't always practical for every project.
Storage solutions:
Elevate everything: use timber stays (dunnage) make-shift trestles, sawhorses, or purpose-built platforms
Waterproof covering is essential – invest in quality tarps
Secure everything against wind: coastal sites can experience sudden, fierce winds
Take material with you that is high value or keep in storage until its required
7. Marine-Grade Primers and Paints: Your First Line of Defense

Custom kitchenette with new sink and fittings
The harsh coastal environment demands premium protection products. We used Zinsser Bullseye primer (applied twice) before any finishing coats, and the difference in durability has been remarkable.
Paint system recommendations:
Prime everything: salt air finds every unprotected surface
Use marine-grade or high-build primers designed for coastal exposure
Choose topcoats specifically rated for salt water and UV exposure
Don't skimp on surface preparation – proper cleaning and sanding is crucial
Consider the maintenance schedule: some protection systems may need reapplication every few years
Additional Considerations for Success
Planning and Compliance Before starting any coastal renovation, check with your local council about marine environment building codes and resource consent requirements. Heritage structures often have additional restoration guidelines, and you may need a marine engineer's assessment for structural work in tidal zones.
Electrical and Ventilation Systems Coastal environments demand specialized approaches to electrical work and ventilation. Use marine-grade electrical components and weatherproof junction boxes throughout. Proper cross-ventilation is crucial to prevent condensation and salt buildup – consider marine-grade vents that can handle spray and driving rain.
Timing is Everything Plan major deliveries around tide charts and weather forecasts. Schedule concrete work during stable weather windows, and consider seasonal timing – winter storms can be particularly severe and disruptive to construction schedules.
Foundation Considerations Depending on your site, floating foundations or adjustable pier systems might be worth investigating. Ensure proper moisture barriers between concrete and timber interfaces, and use drainage aggregate around footings to handle water infiltration.
The Reward Makes It Worthwhile
Despite the unique challenges, renovating a beach boat house offers rewards that go far beyond the finished product. There's something special about creating a beautiful, functional space that works in harmony with one of nature's most powerful forces. The key is respecting the environment, planning meticulously, and never underestimating the sea.
Approach your project with respect, preparation, and the right materials.
Ready to tackle your own coastal renovation? Get in touch with Vaai Ltd for:
Coastal and marine construction projects
Heritage building restoration and renovation
Specialized construction in challenging environments
Expert material selection and marine-grade specifications