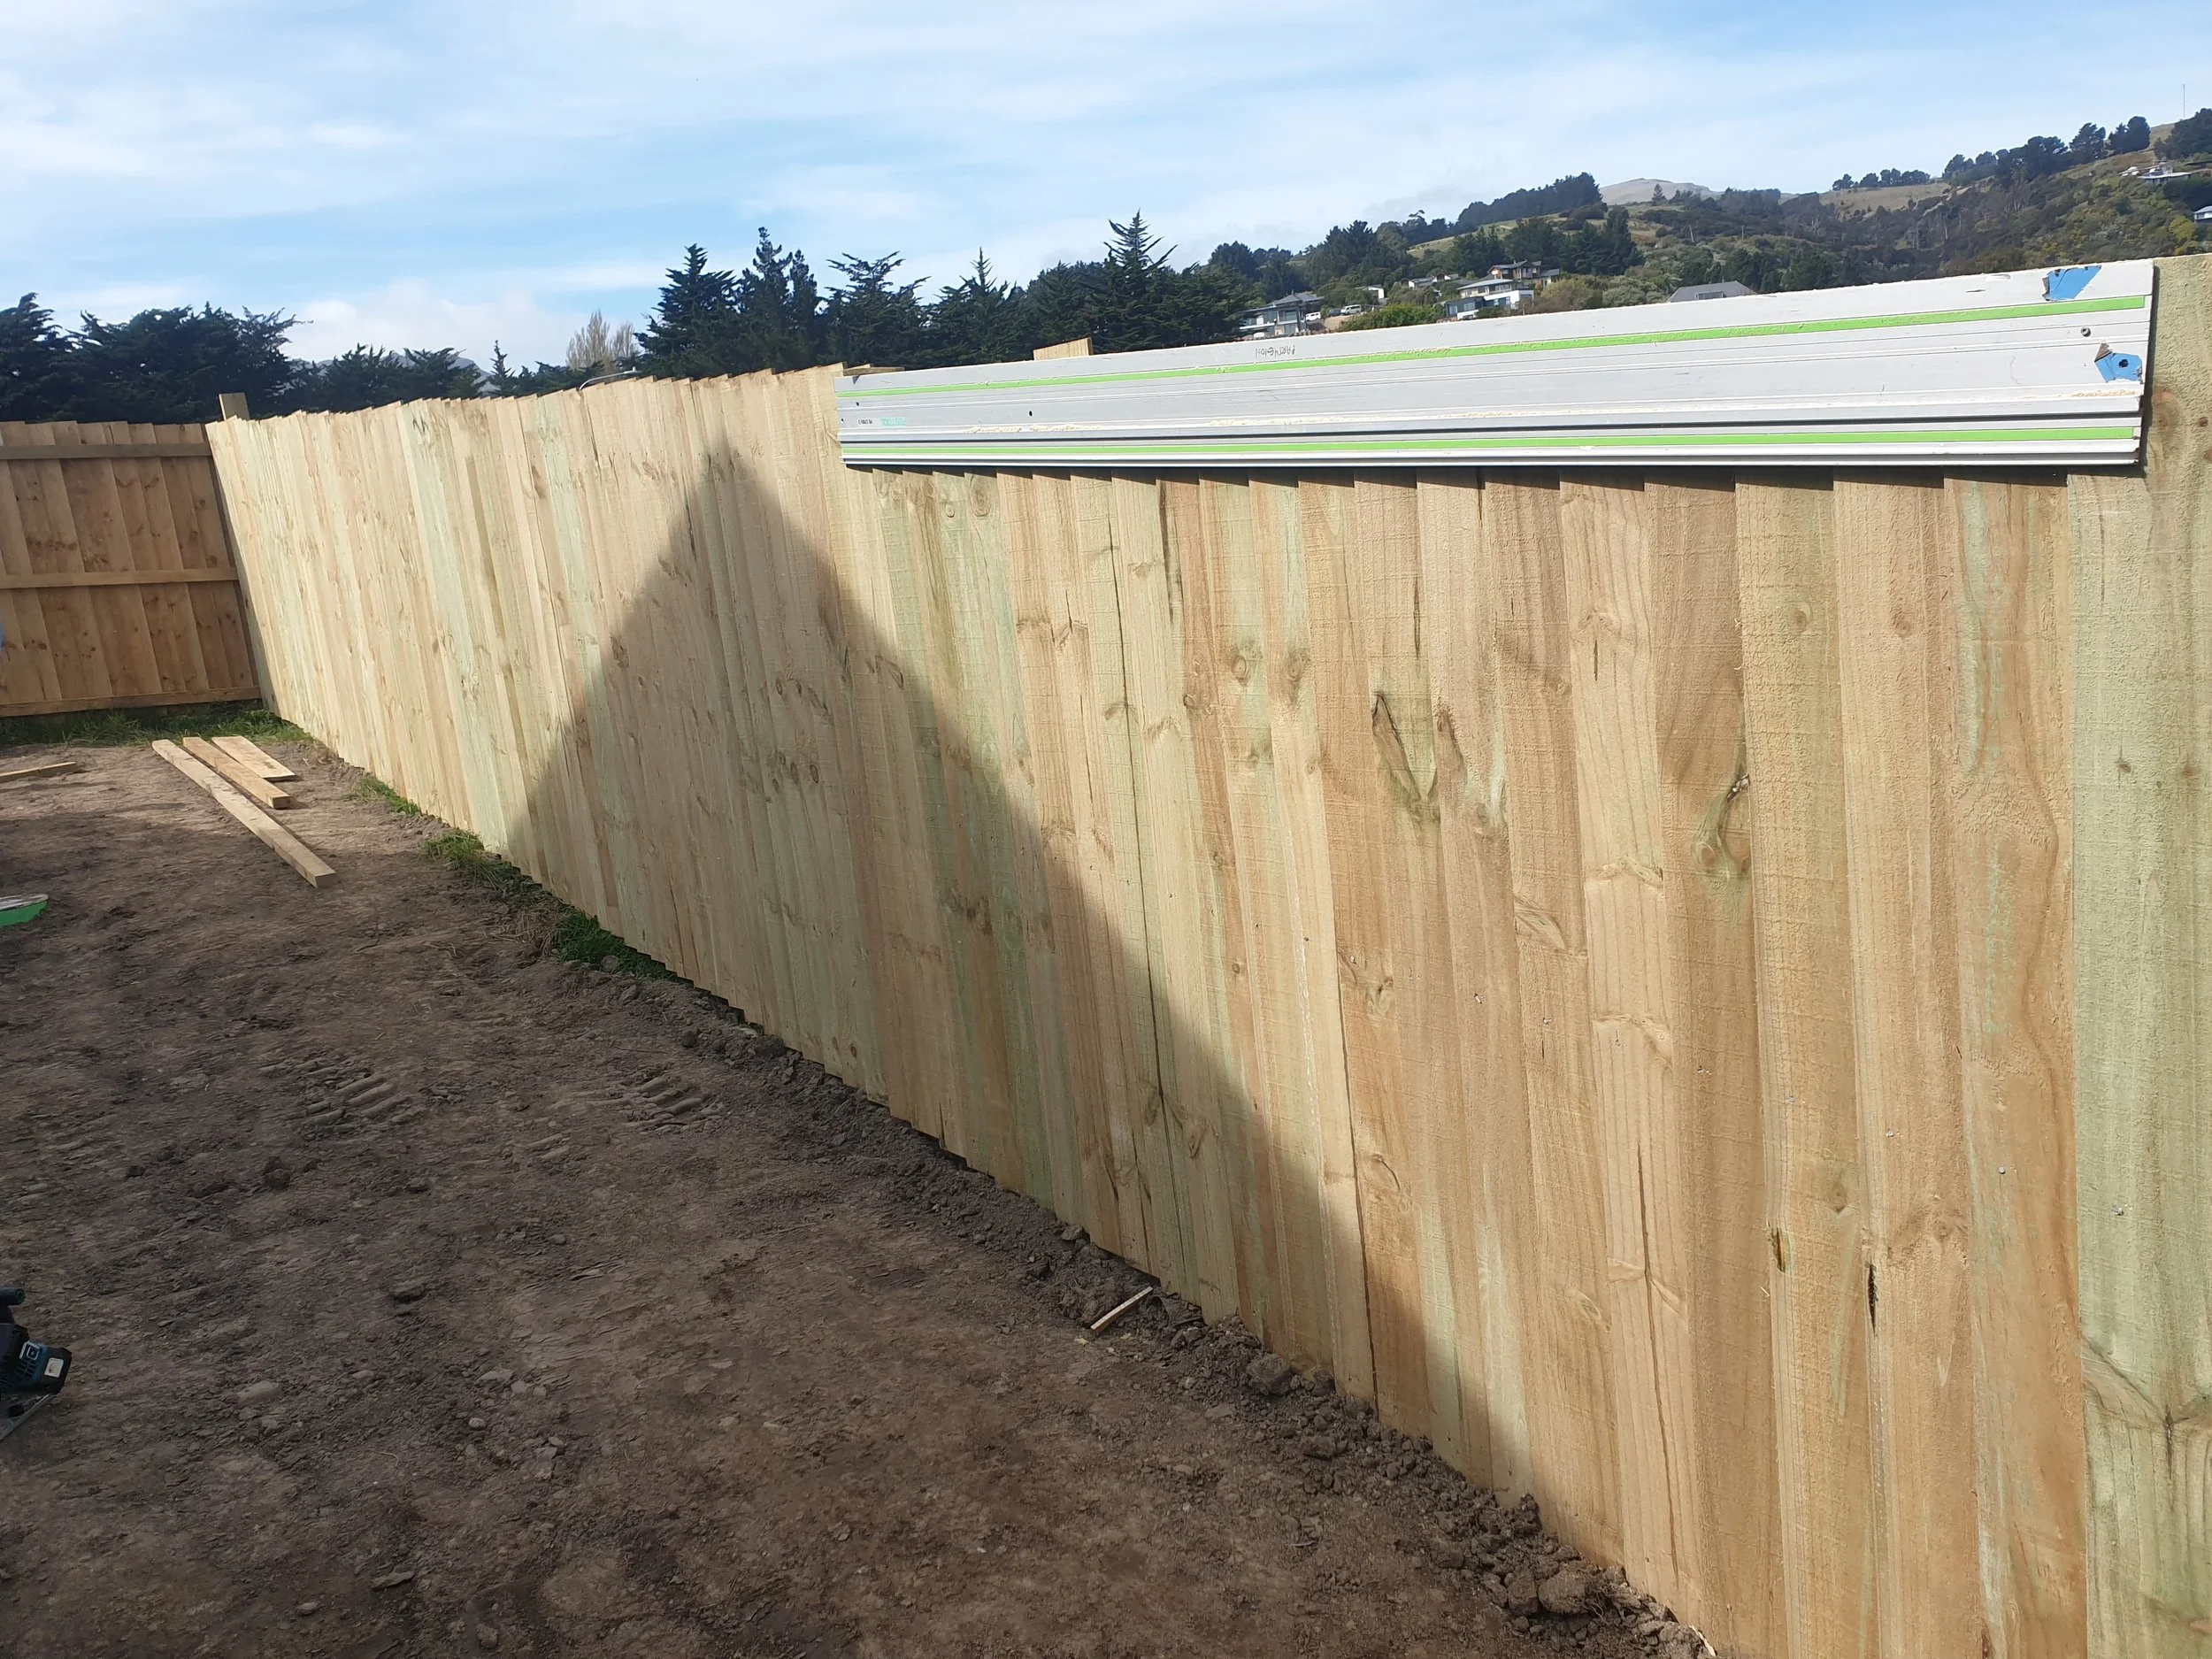
Key Pointers When Constructing a Timber Paling Fence
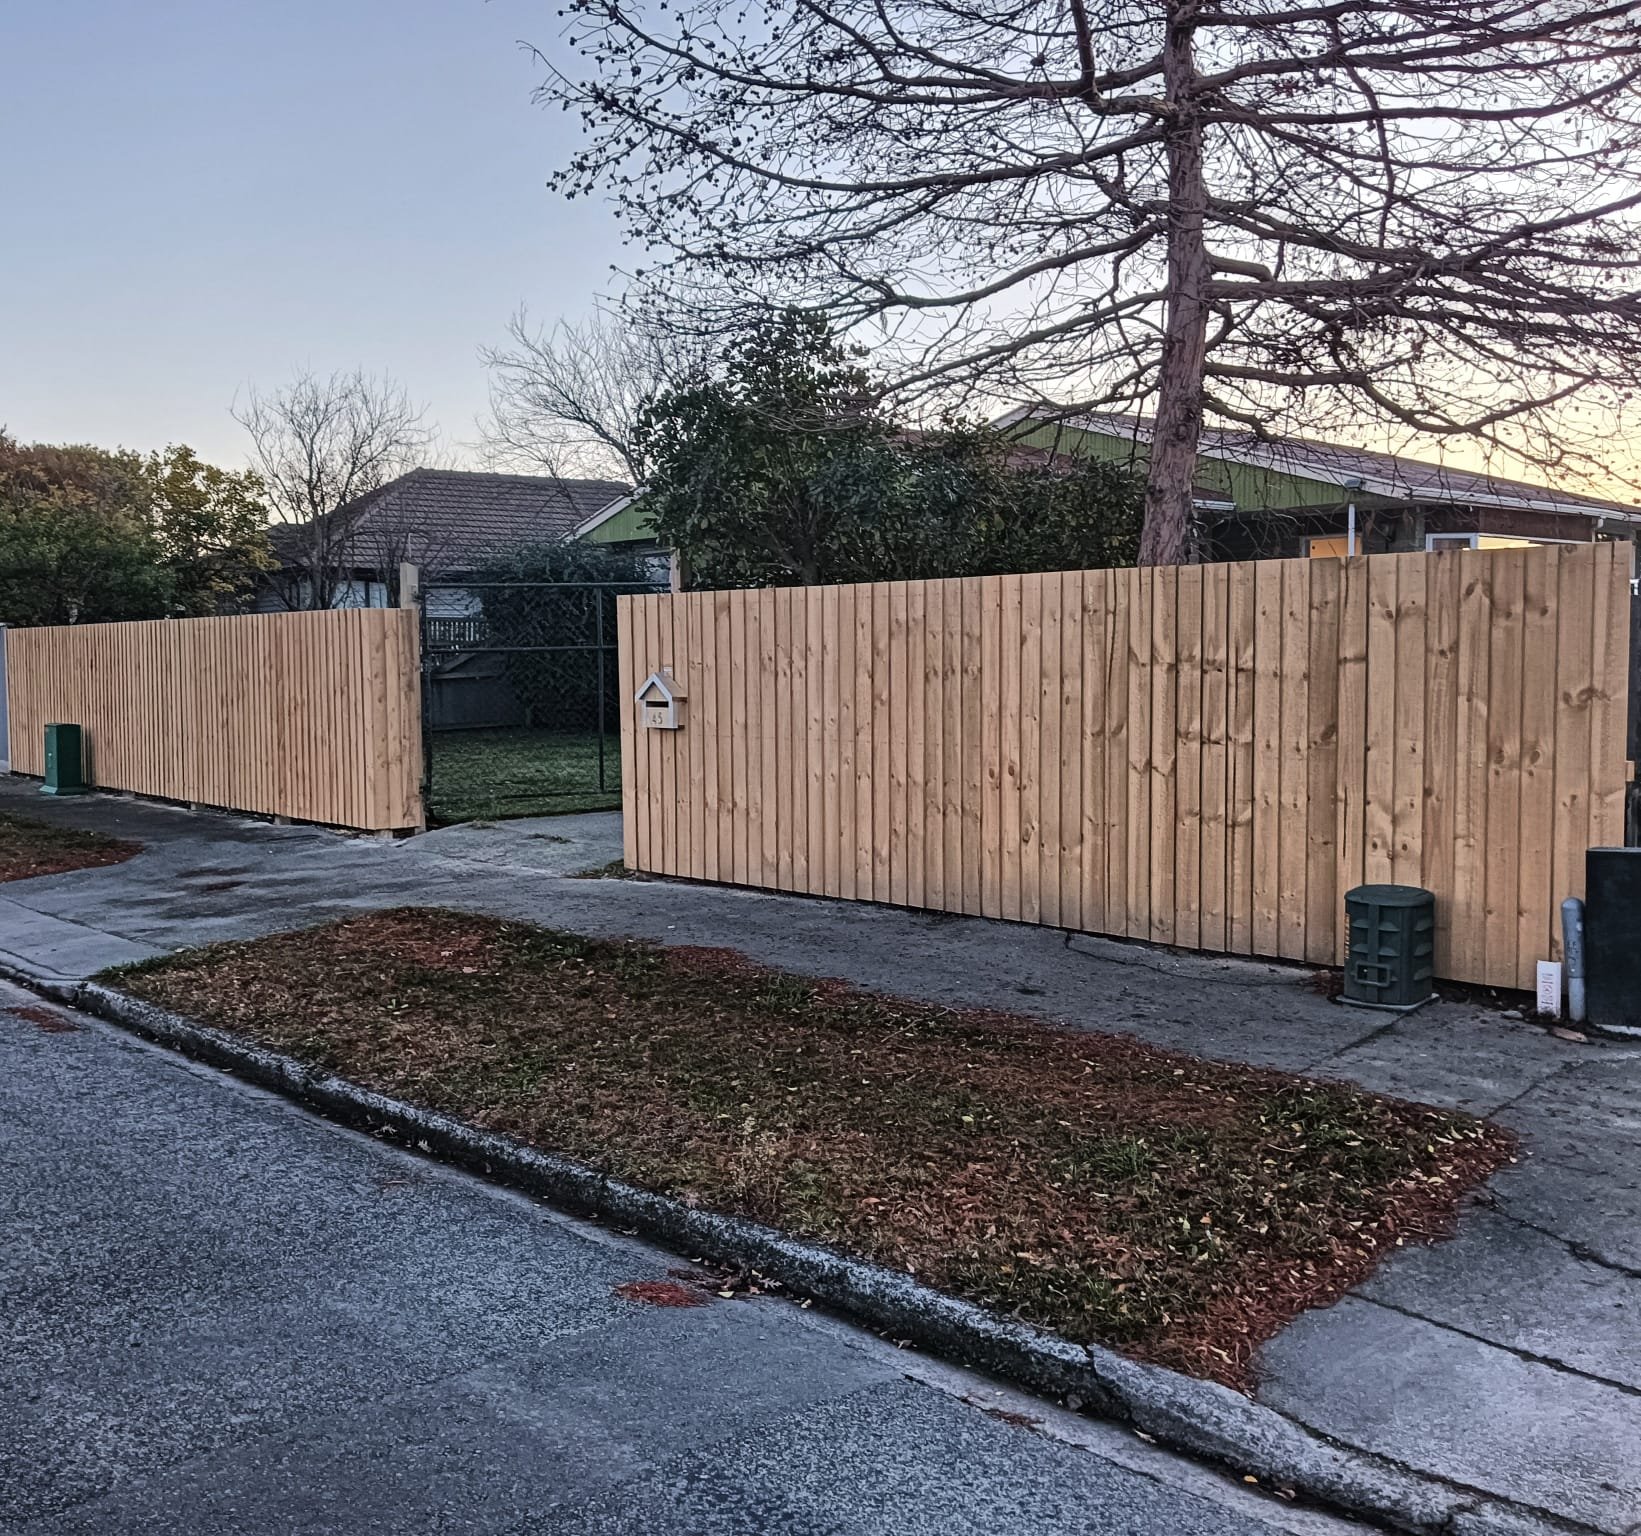
Paling Fence Constructed with Pine Posts, Palings and Rails
Constructing a timber paling fence may look straightforward, but longevity, straightness, and performance especially in Wellington conditions come down to a few critical details.
Confirm Design, Compliance & Boundaries
Before starting any fence works, confirm the fence complies with local council rules, including permitted heights (typically 2 m on side/rear and and 1.8 m on street boundaries), visibility requirements.
Check your Record of Title for any covenants or consent notices that may restrict fencing type or location. Establish the legal property boundary using survey pegs and set out the fence from this line.
It is not advisable to rely on existing fences or assumptions. If pegs cannot be located or boundaries are unclear, engage a licensed surveyor before building where the fence is on or near a shared boundary.
2. Talk to Your Neighbor Early
Where the fence is on or near a shared boundary, the Fencing Act 1978 generally requires neighbors to be consulted and outlines how fencing costs and responsibilities may be shared. Even where cost-sharing is not sought, discussing the fence location and design with your neighbor early helps avoid disputes and delays.
Inform your neighbor before work starts
Discuss fence location, height, and materials
Confirm cost-sharing expectations if applicable
Clear communication early on helps avoid disputes and delays once construction is underway.
2. Timber Quality Starts at the Merchant
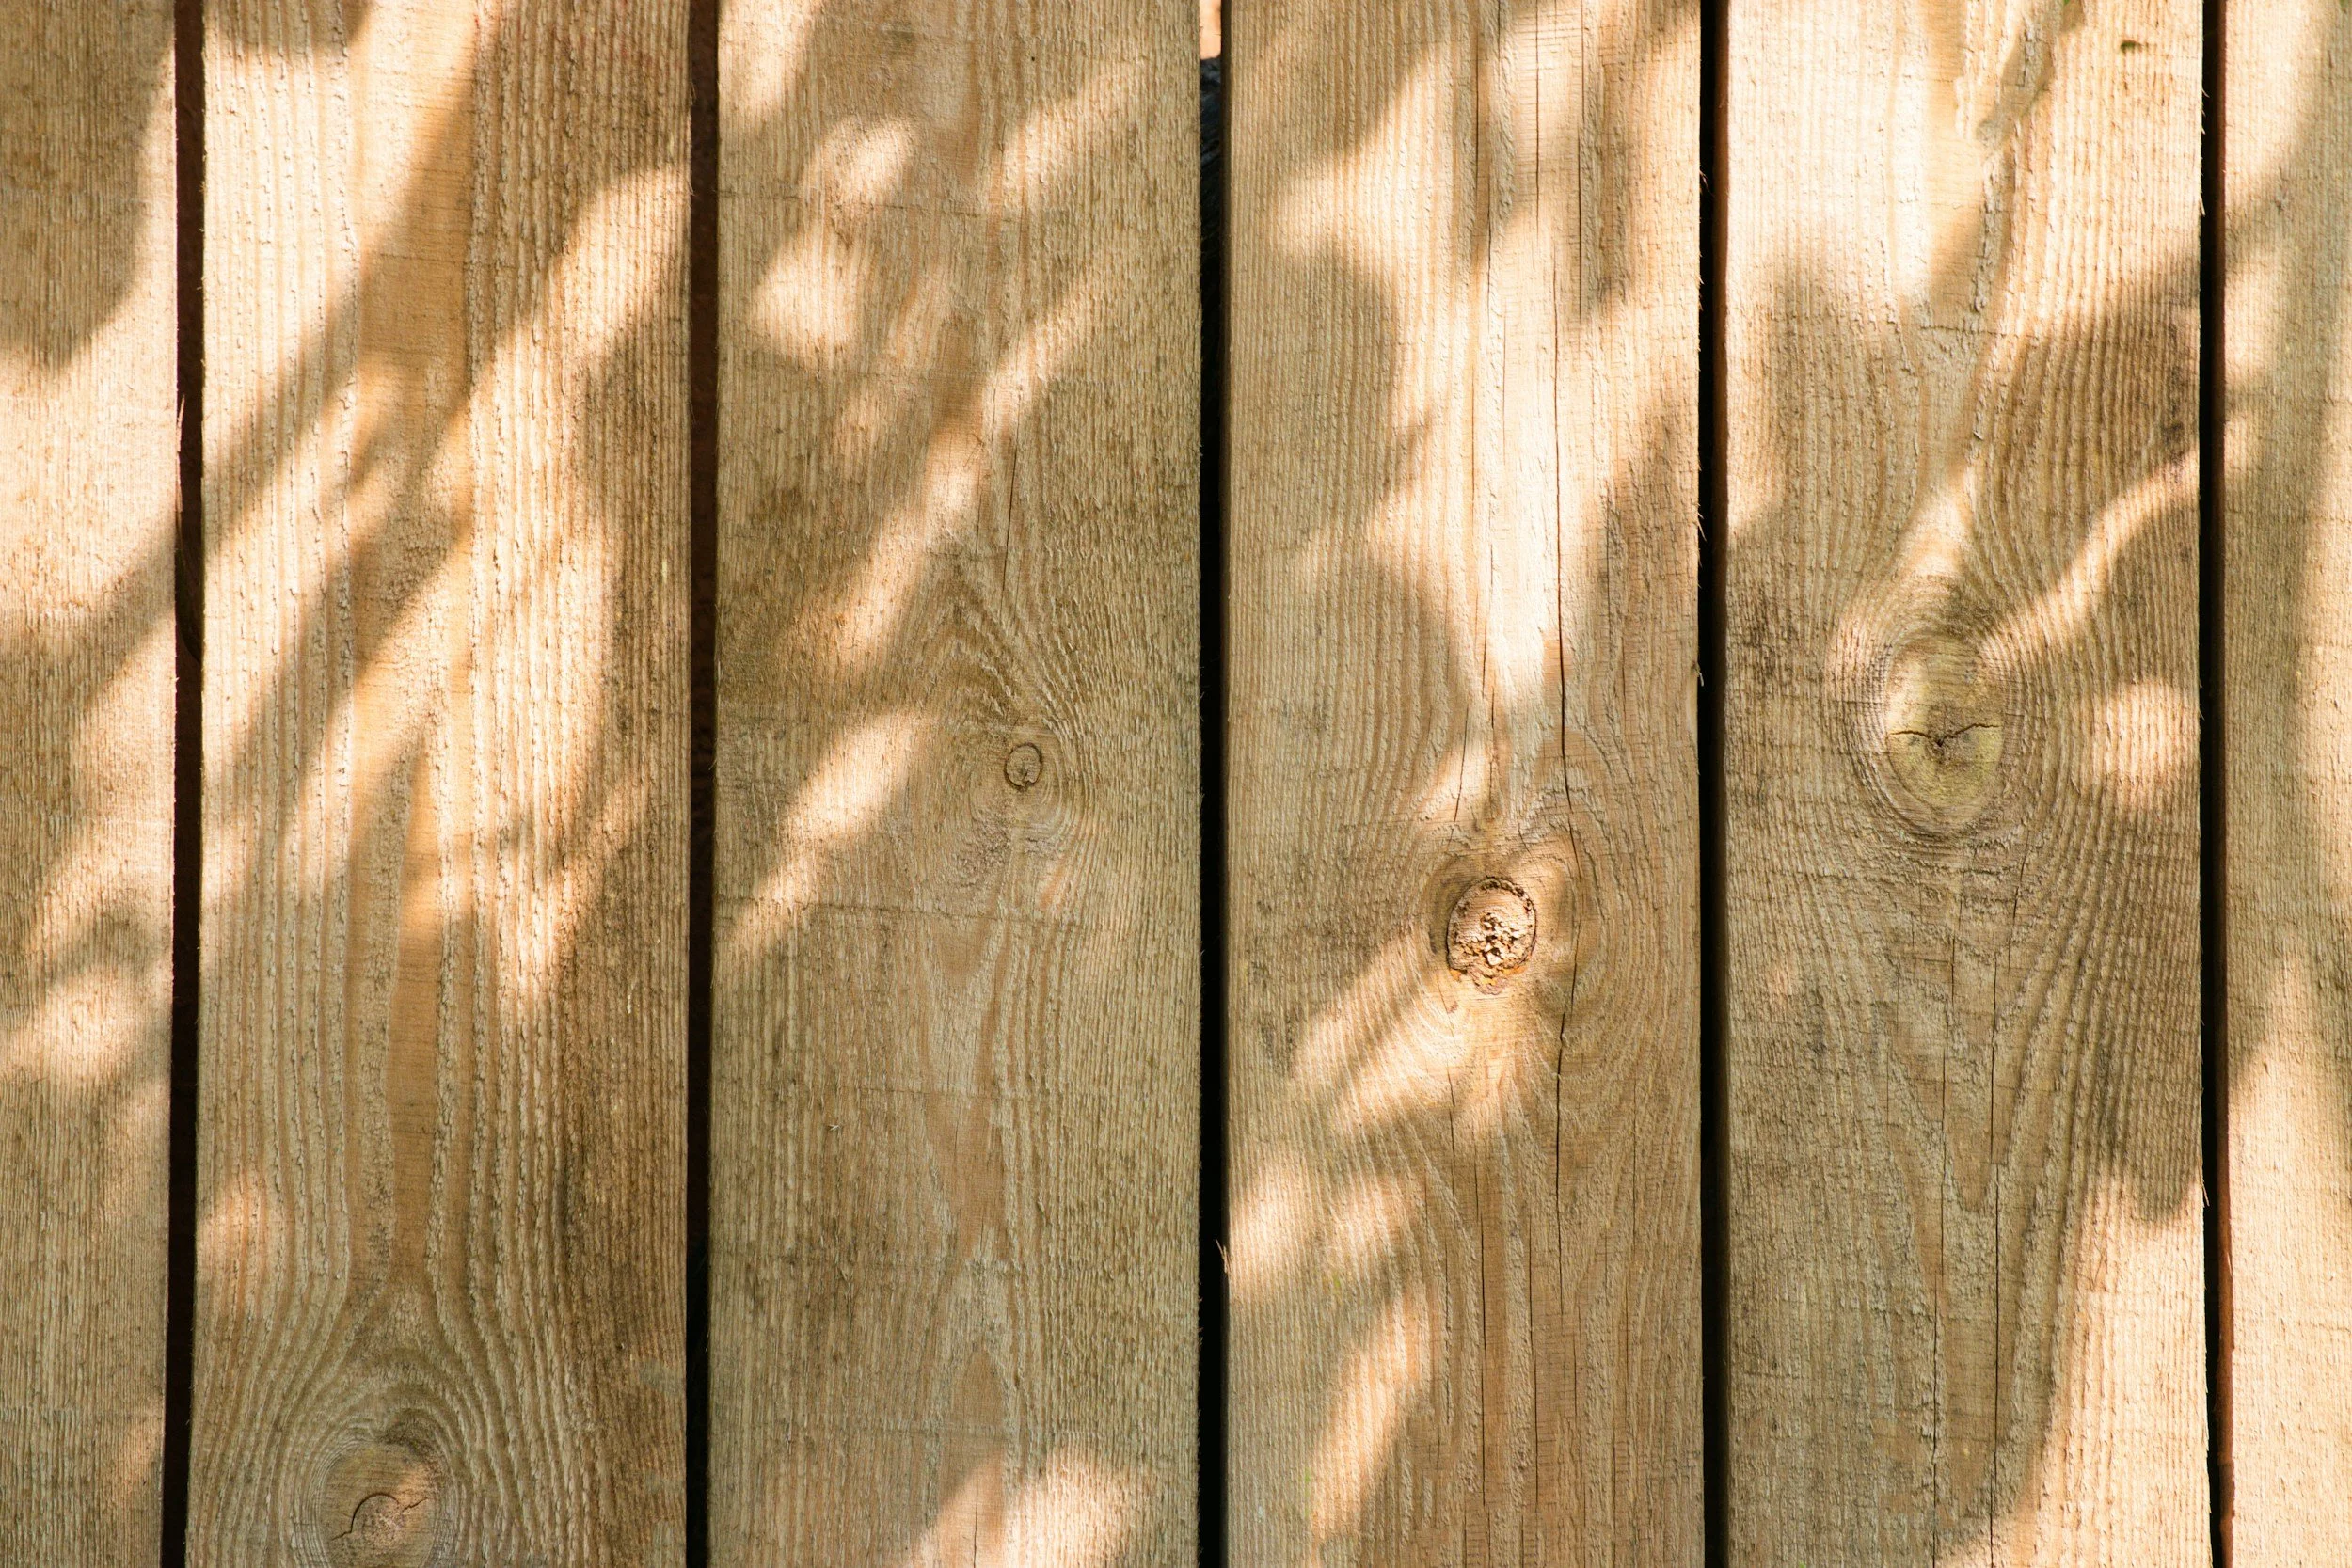
A quality fence starts with quality timber. The better cuts of timber generally come from dedicated timber merchants rather than clearance or a general hardware store. For us, that supplier is Placemakers and ITM.
Before purchasing posts and palings:
Sight down each piece to check for bowing, twist, or cupping
Avoid timber with excessive dry splits or large knots
Timber should feel reasonably heavy and slightly supple
Lighter timber often indicates lower density or excessive drying, which increases the likelihood of warping, cupping, and reduced fixing strength over time. Any defects present at purchase will only become more visible once the fence is installed and exposed to weather.
3. Gate Posts Require Special Treatment
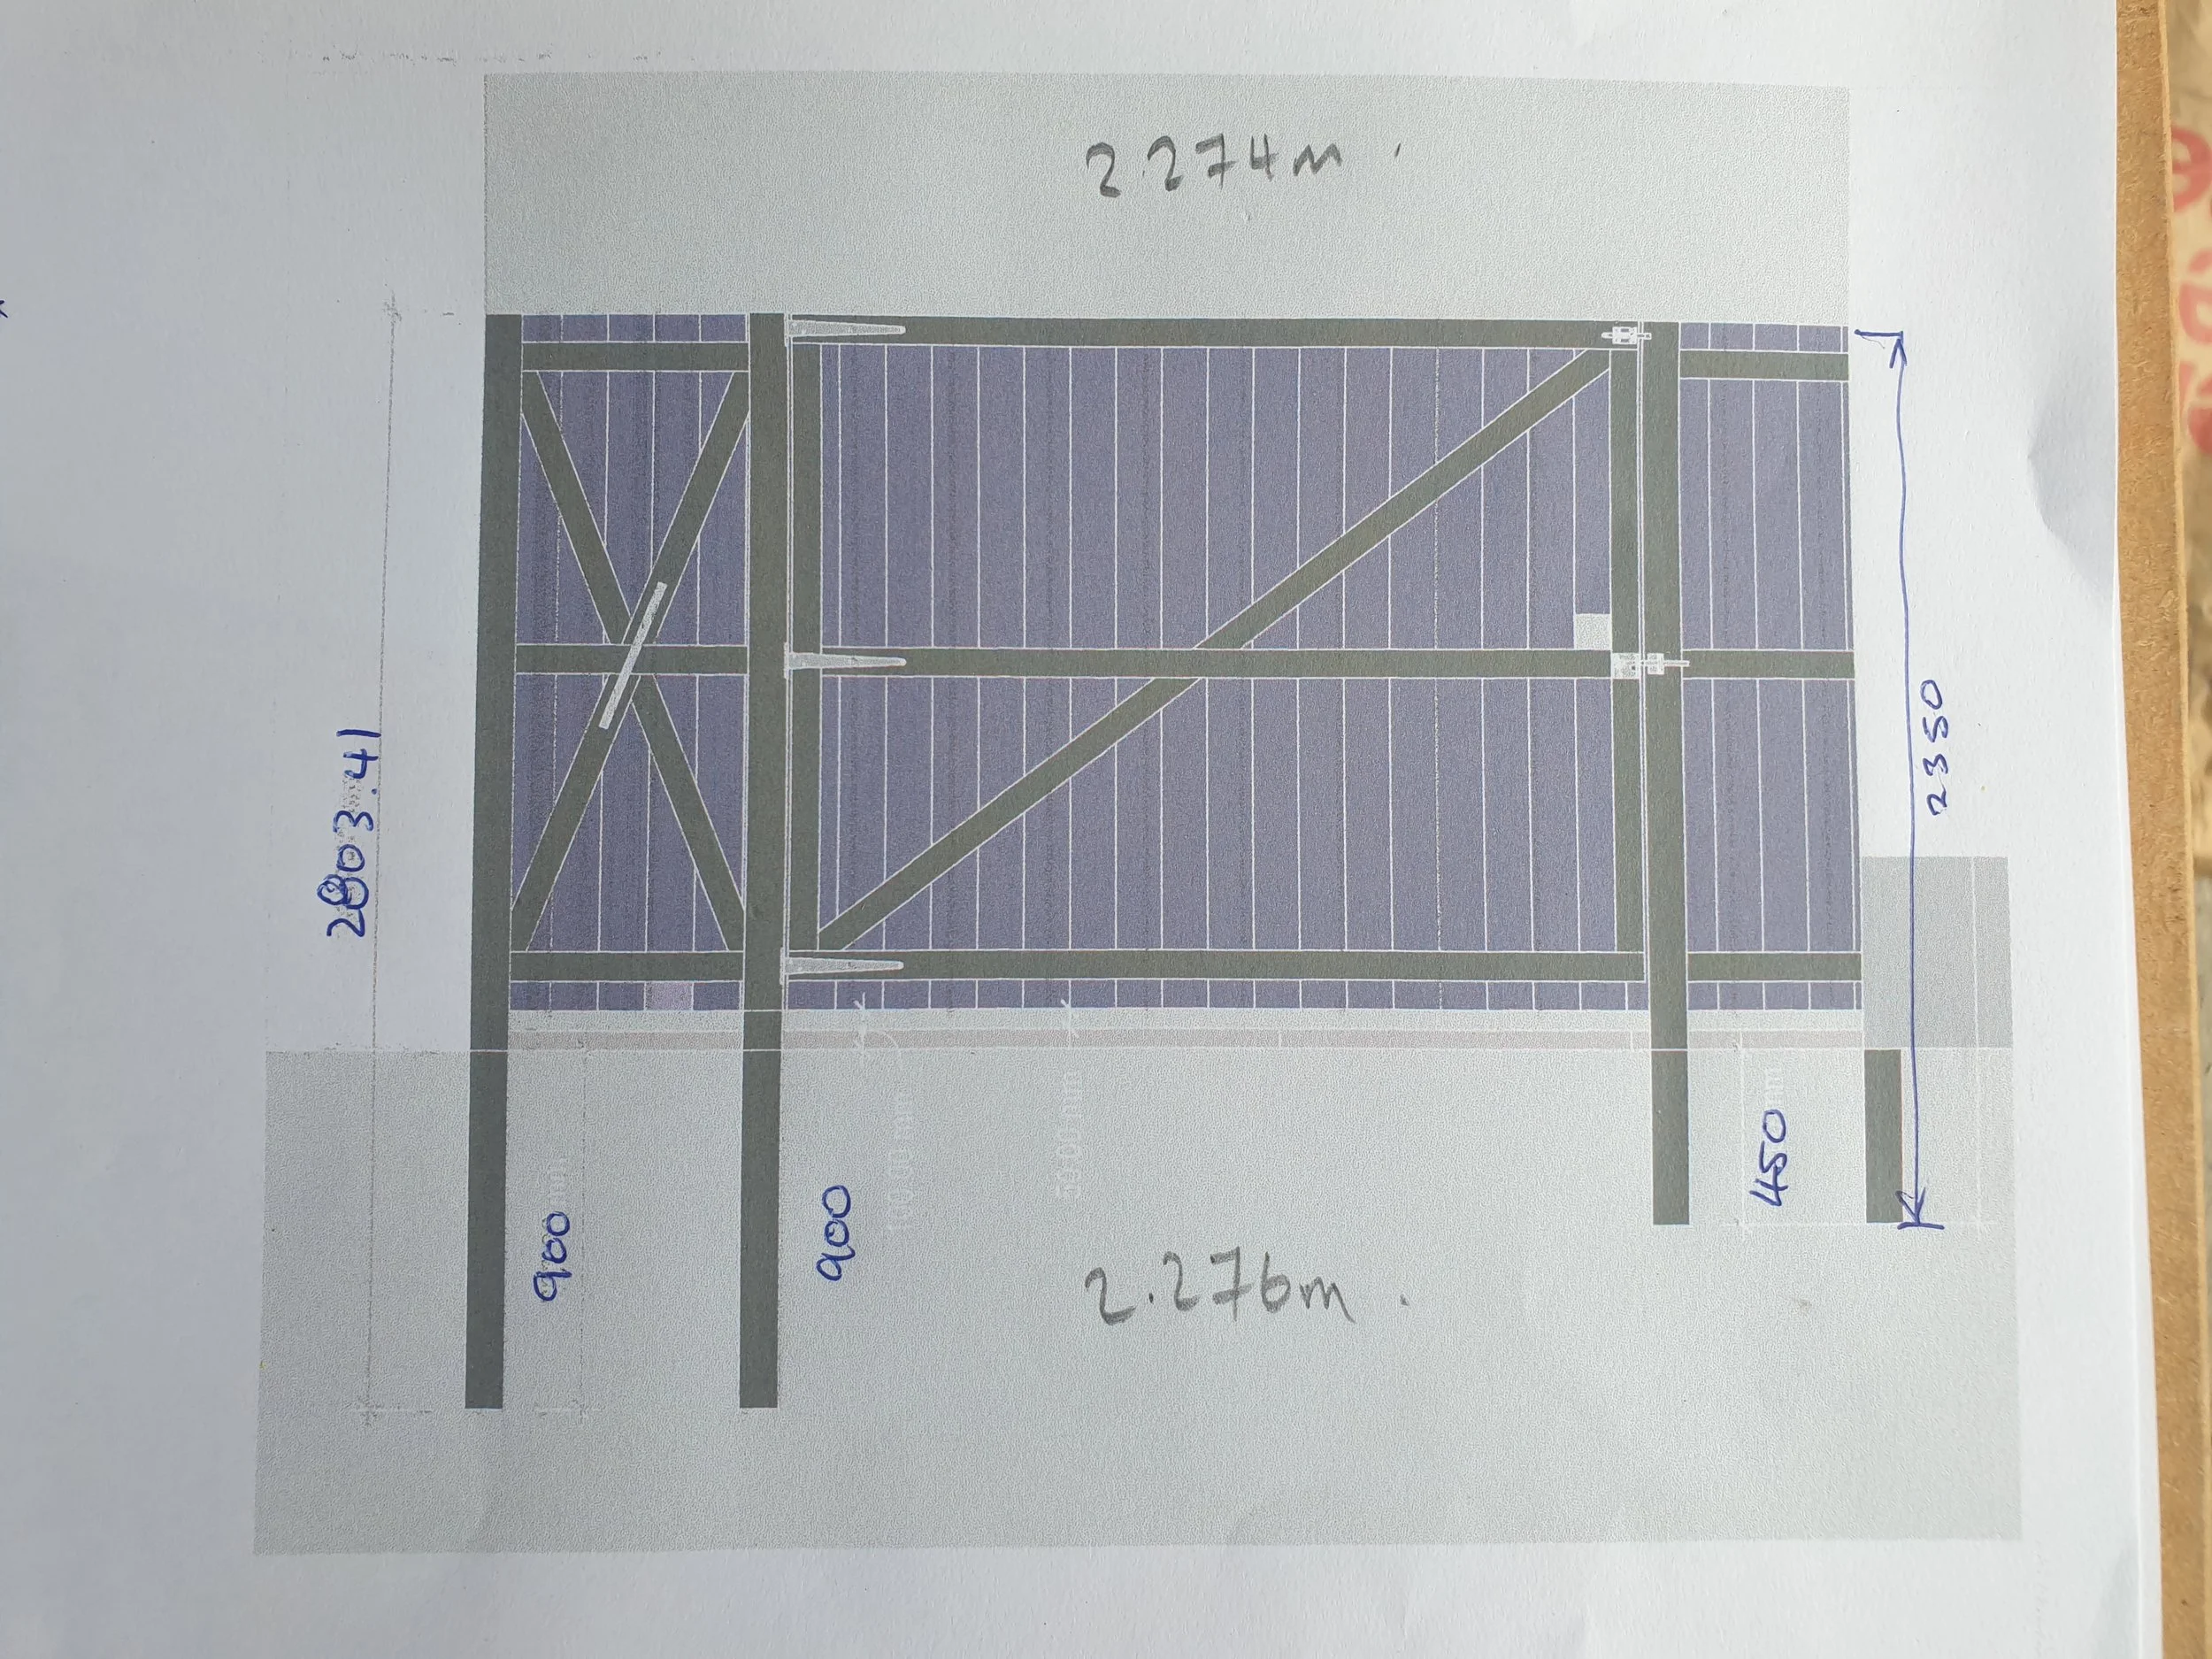
Gate Posts Typically 900mm or deeper, larger gates warrant a support wheel (dolly)
Gate posts are subject to constant cyclic and lateral loading and must be treated differently from standard fence posts typically installed from 450mm-600m depth.
Best practice includes:
900 mm minimum post hole depth for gate hinge posts
Full concrete encapsulation reinforced if possible
Diagonal bracing back to the adjacent post to resist racking forces
This is especially important for single-hinged gates, where all operational load is transferred into one post. Gate posts should be fully braced and left undisturbed until the concrete has cured.
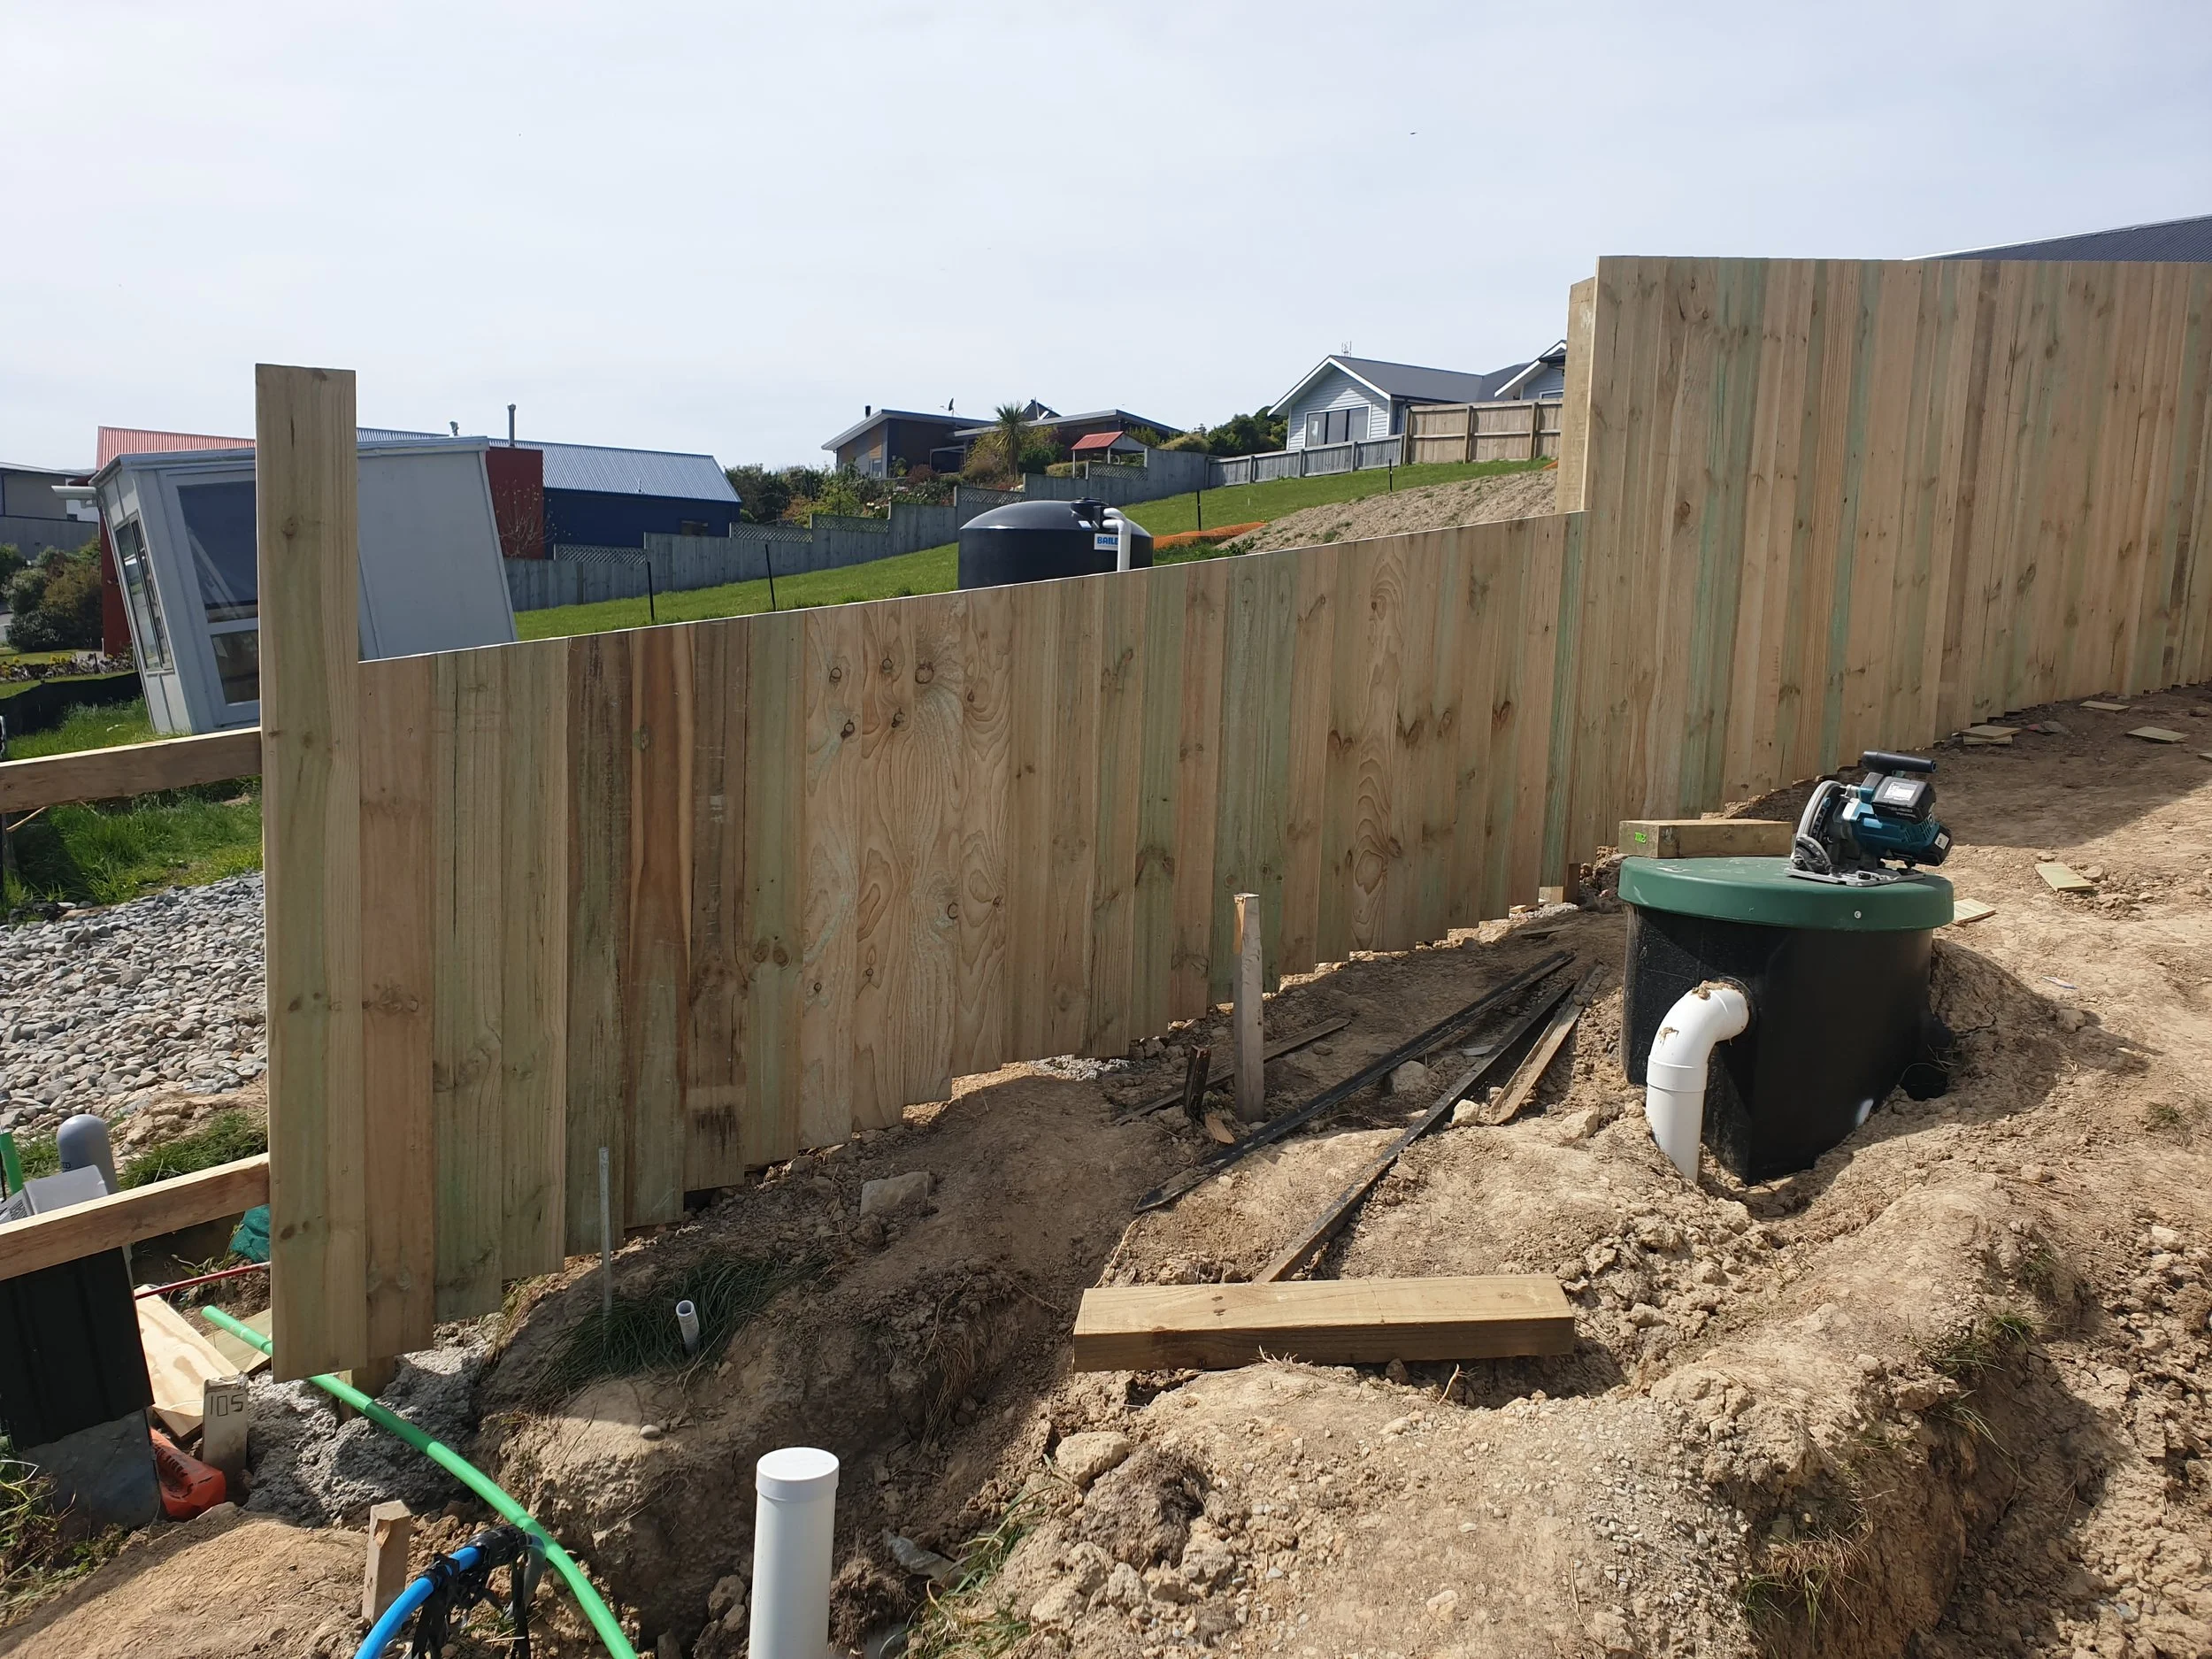
4. Temporary Bracing
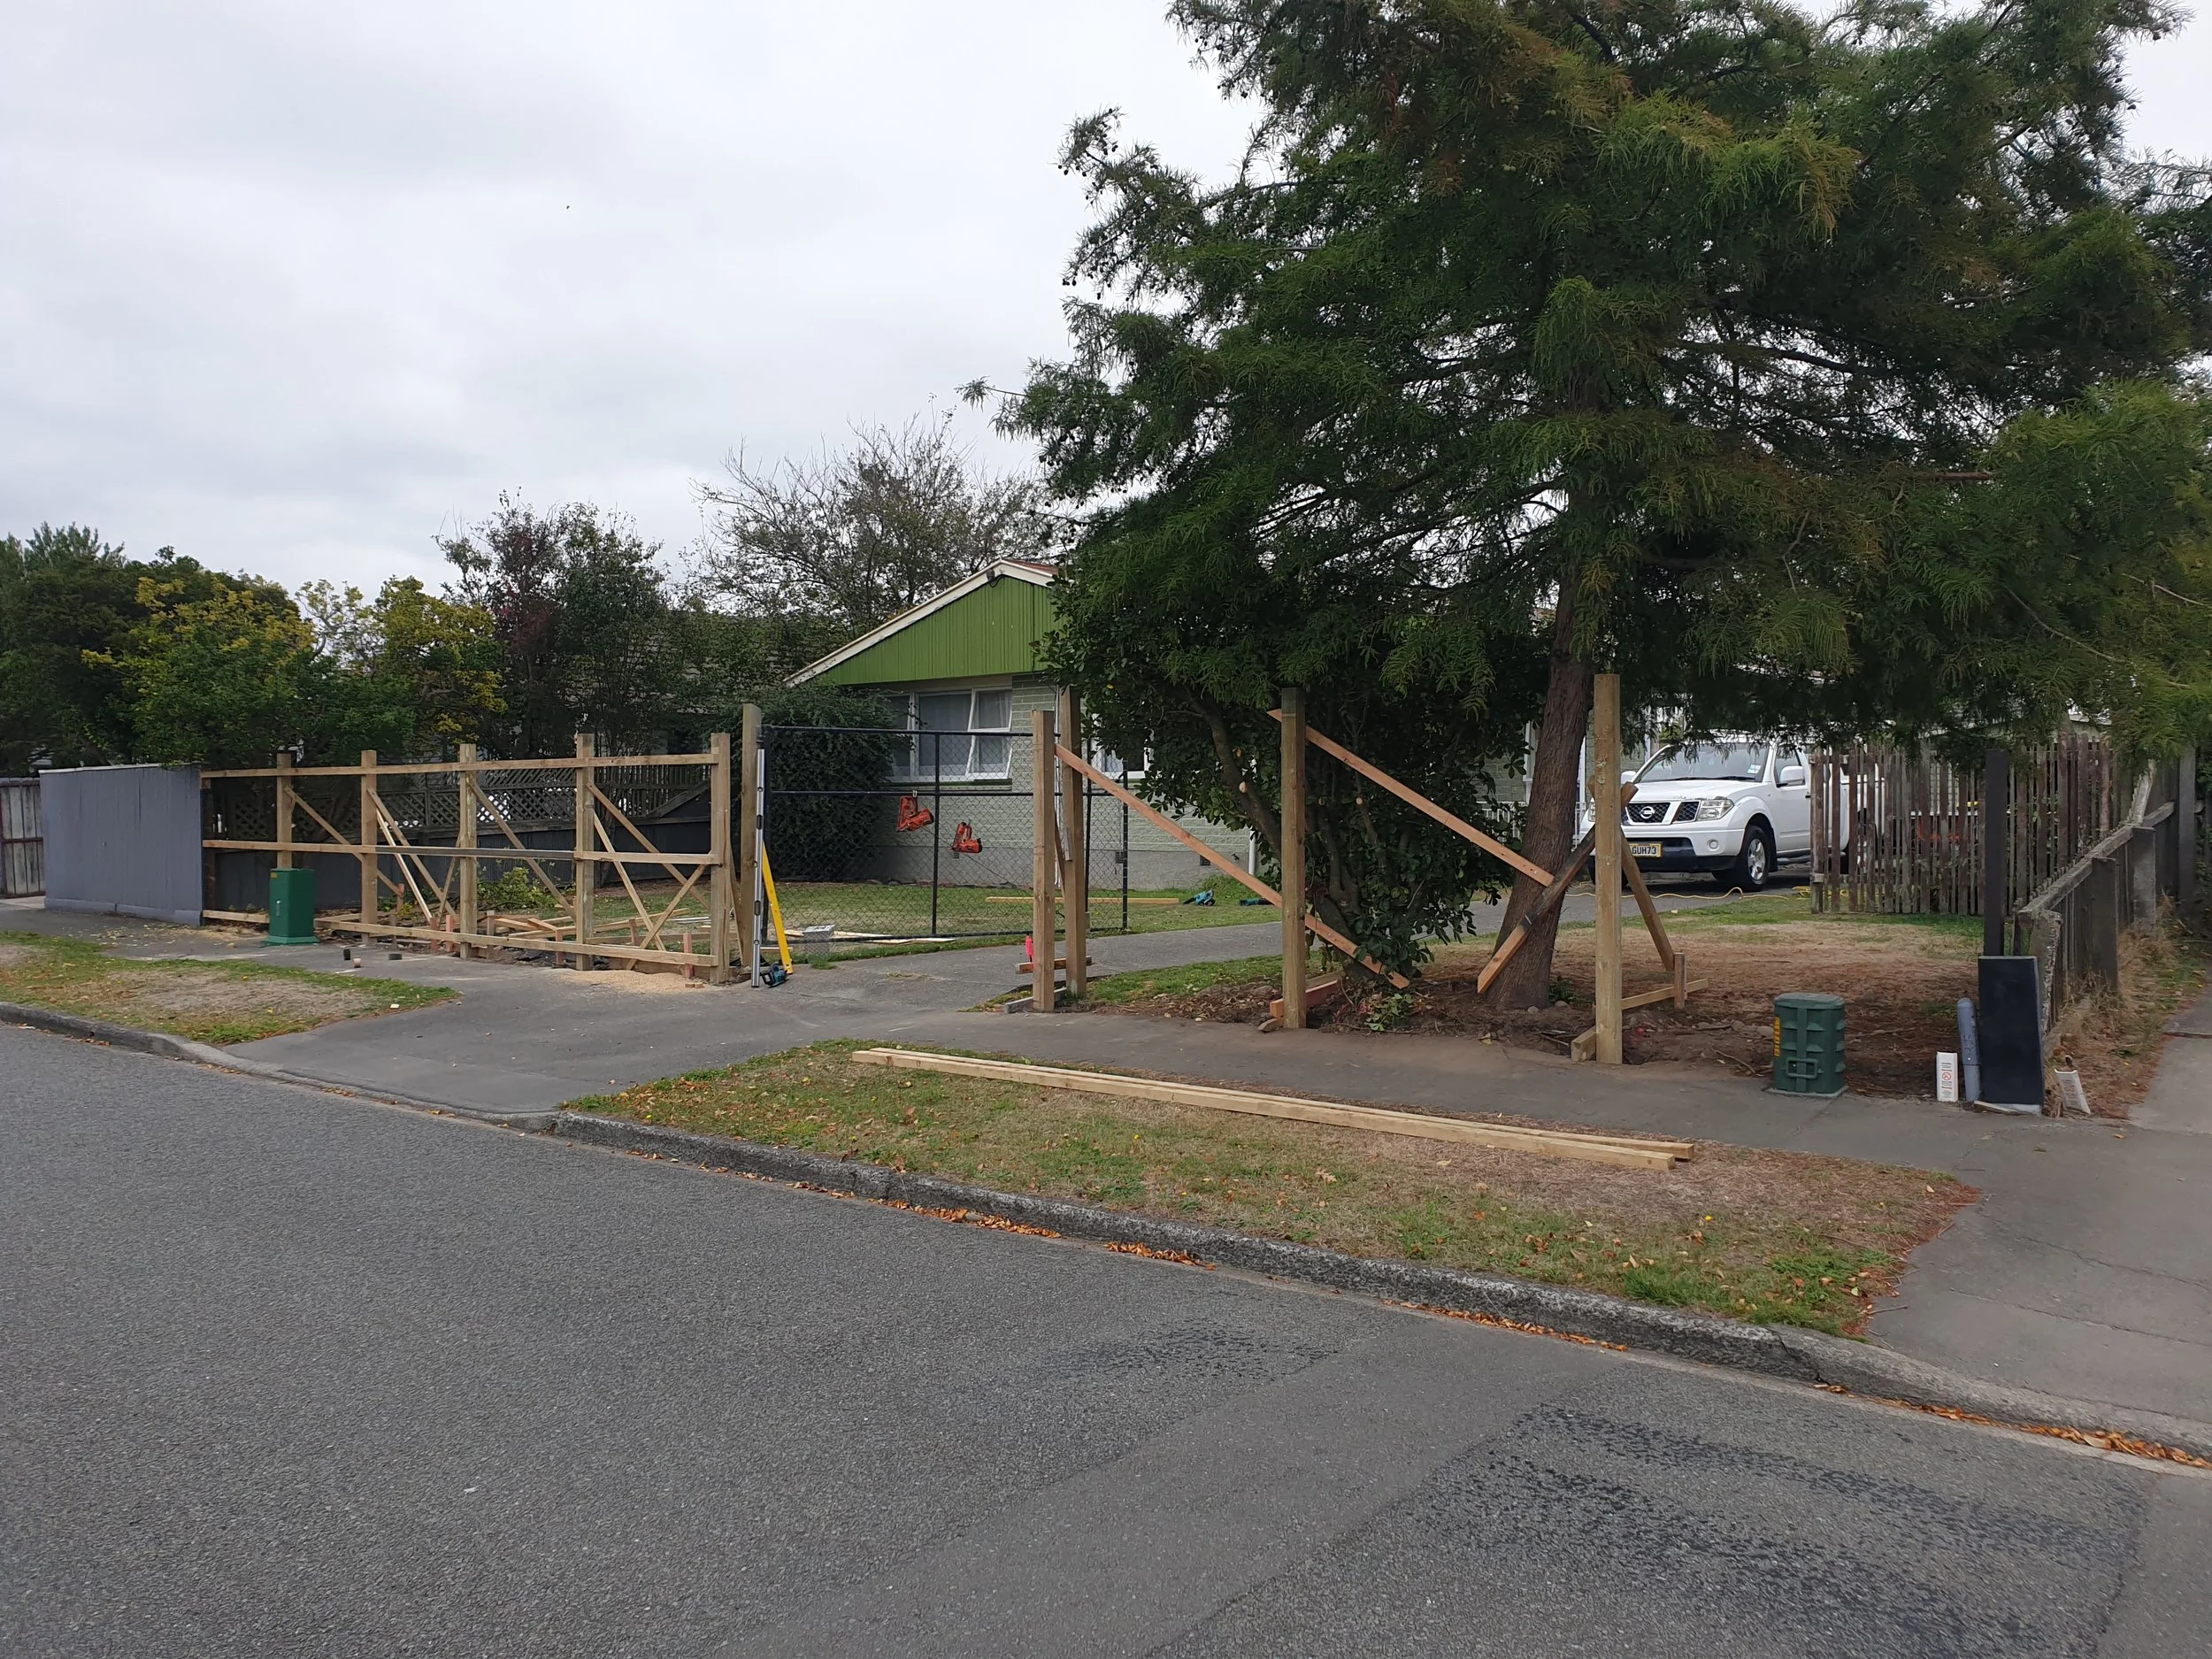
Erection of timber posts in progress
Many homeowners attempt to brace posts using palings. While this can work temporarily, palings are not structural bracing members and can flex under compression or impact, potentially pulling posts out of plumb.
Best practice is to:
Use proper gauged timber such as 90×45 or 100×50
Fix bracing firmly and wedge tight before pouring concrete
Remove bracing only once concrete has sufficiently set
Palings may be used as light bracing, but they should not be relied upon where accuracy matters.
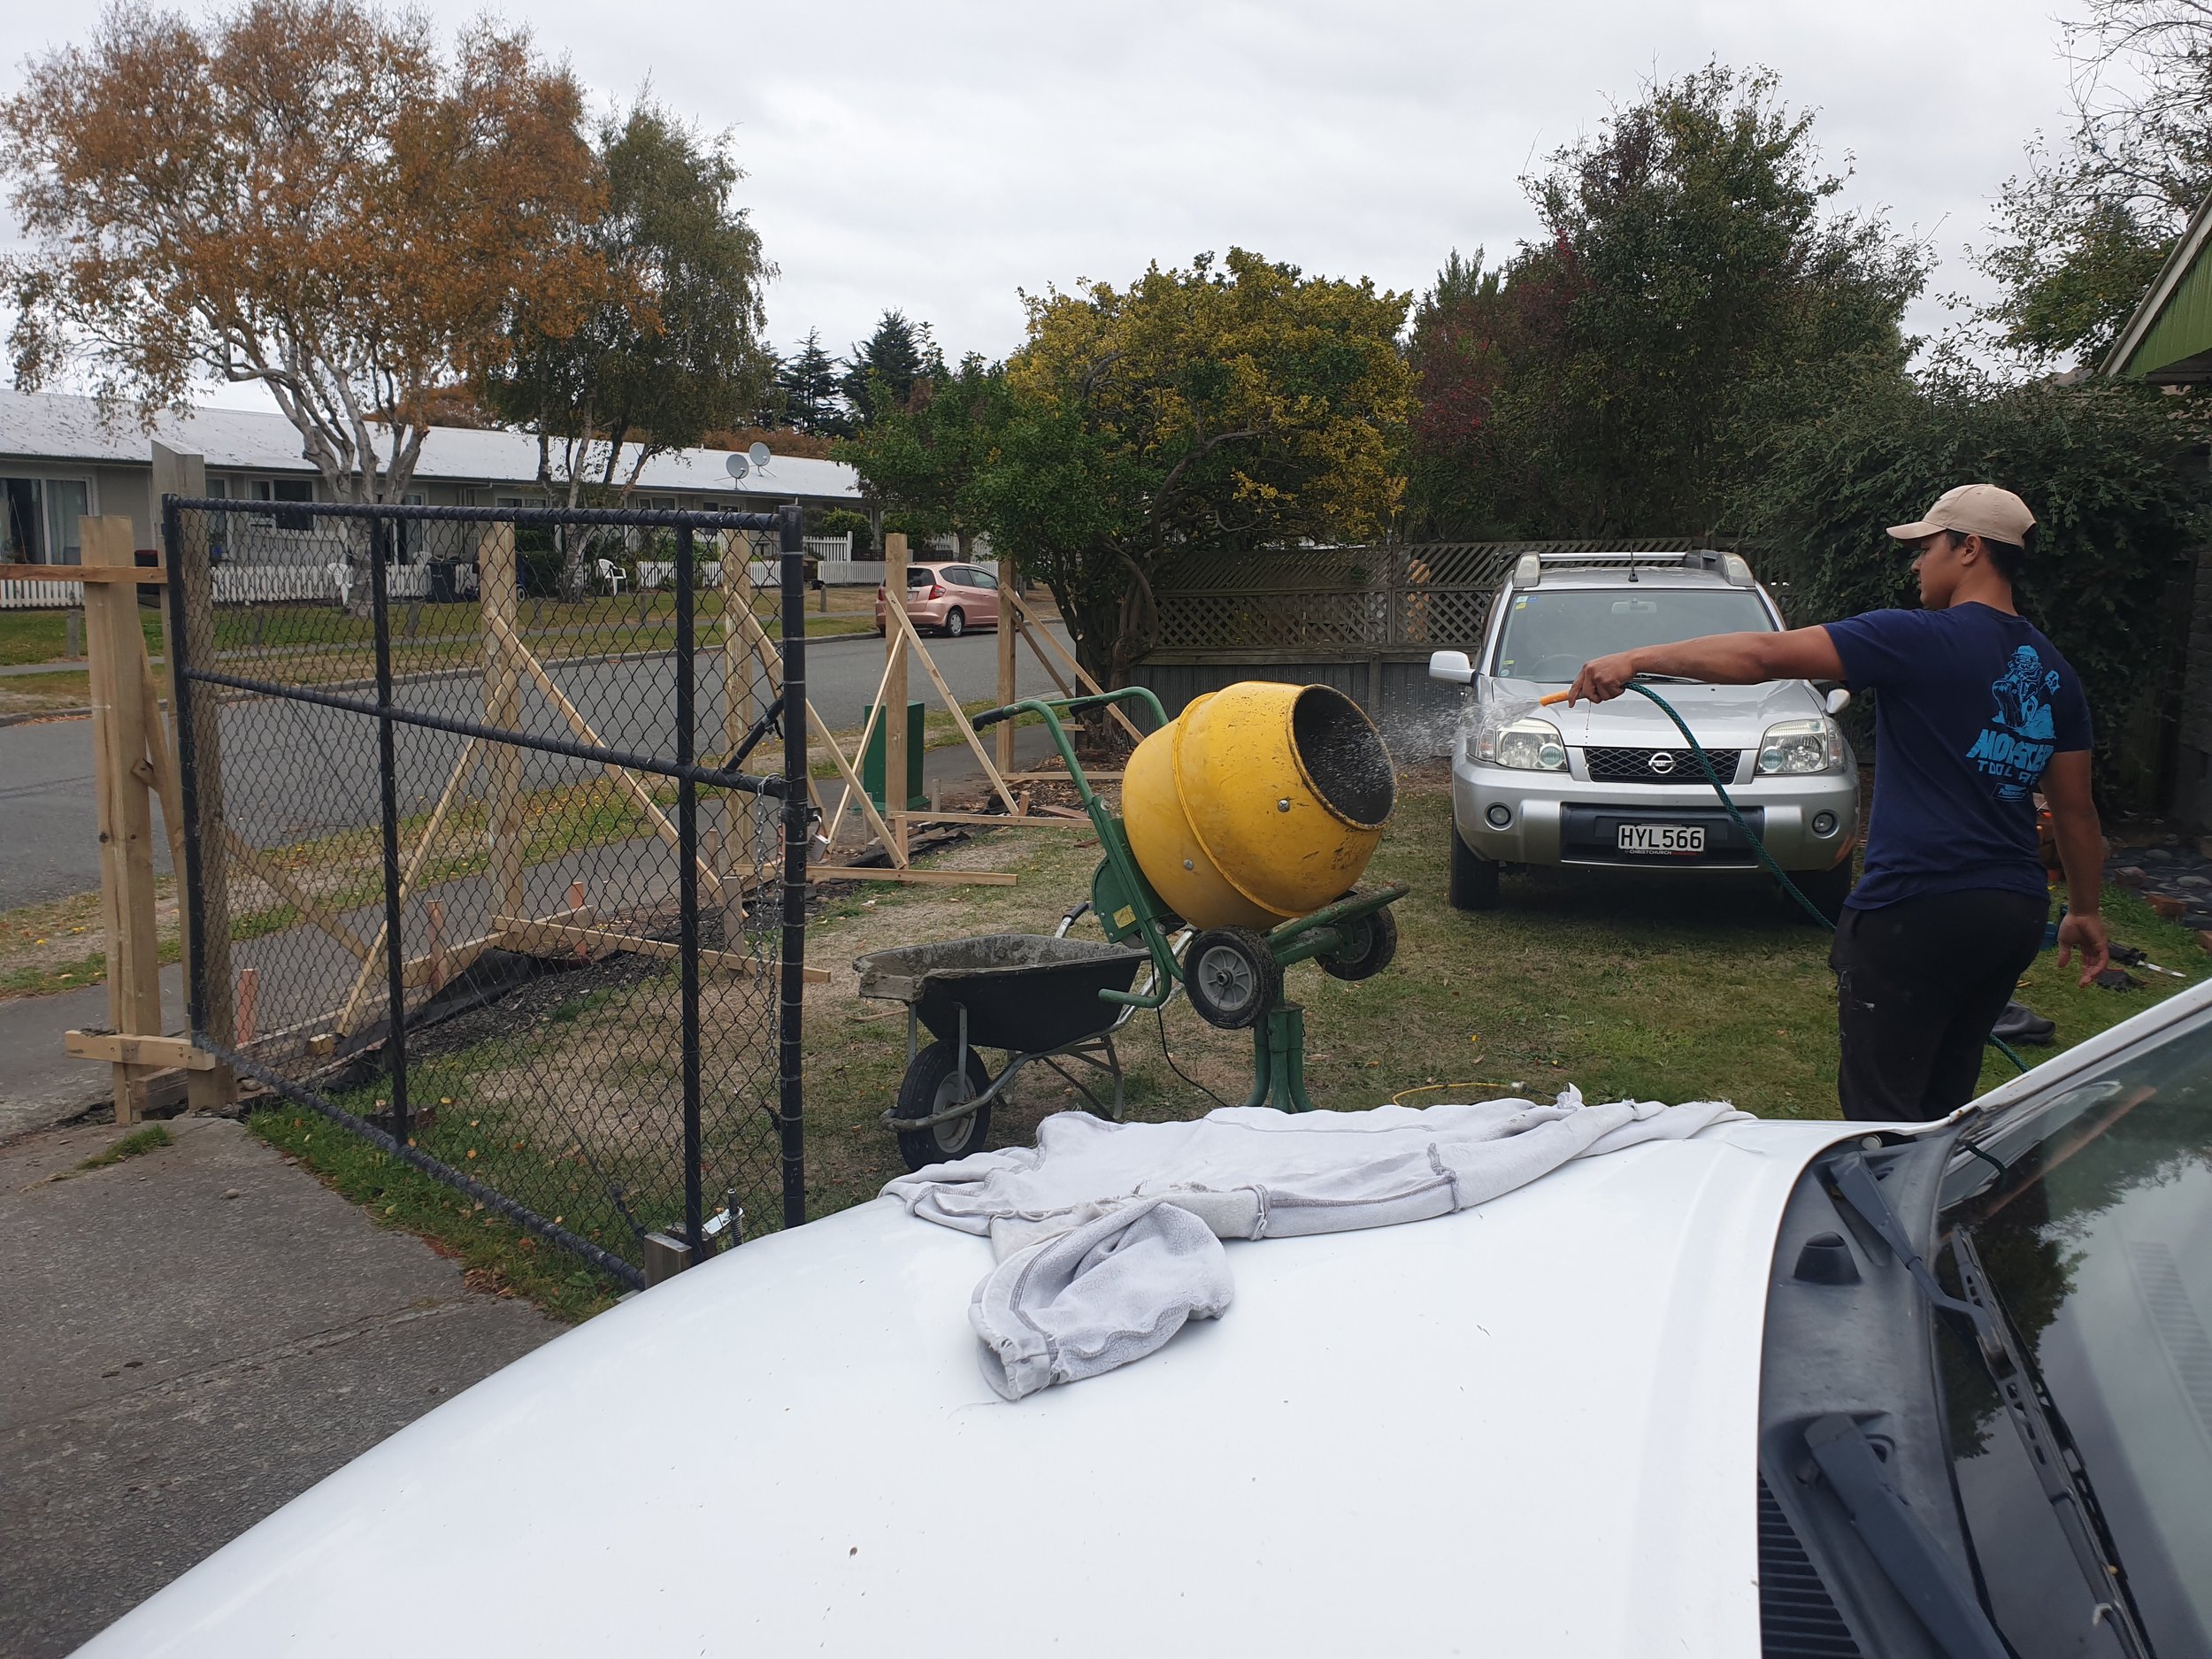
5. Concrete Mixing & Pour Planning
For anything more than a few posts, hiring a cement mixer is strongly recommended.
Always follow the manufacturer’s instructions for your chosen concrete product. Mix ratios vary depending on whether you are using premix concrete or site-mixed materials.
Key points:
Calculate your total concrete volume before the day of the pour
Ensure all posts are fully braced and plumb prior to pouring
Avoid running short mid-pour, particularly if using a concrete truck
For timber paling fences, 20 MPa concrete is typically sufficient and widely used for fence footings. We commonly use Eversure 20 MPa, but suitability should always be confirmed for the specific product and application.
6. Post Hole Depth & Base Detailing
Typical post hole depths vary depending on fence height, exposure, and loading:
Standard fence posts: approximately 450–600 mm
Gate hinge posts: 900 mm minimum
Posts should be packed approximately 50 mm off the bottom of the hole to allow concrete to fully encapsulate the base of the post and prevent moisture trapping. Holes should be square, true, and free of loose material before placement.
7. Fixings & Fasteners
Correct fixings are essential for durability, particularly in coastal or exposed environments.
We recommend:
Hot-dip galvanised or stainless steel fixings
90 mm galvanised nails or screws for rails and framing
65 mm galvanised fixings for attaching palings to rails
Bugle-head screws to fix rails to posts, driven flush to ensure palings sit flat
Using the correct fixings significantly extends the life of the fence and reduces future maintenance.
8. Protect Public Areas During Concrete Work
If concrete is being poured near a footpath or driveway:
Protect surfaces with DPM, ply sheets, or heavy-duty plastic
Alternatively, build a simple ply chute to control concrete placement
This avoids unnecessary mess, complaints, and potential council fines.
9. Premix vs Bulk Concrete – Cost Considerations
Premix concrete bags are:
Faster
Cleaner
More expensive
For longer fence runs, a cost-effective option is:
Bulk builders mix from a landscape supplier
Cement purchased separately typically 20MPa for fence posts
Mixed on site to the manufacturer’s recommended ratios as well as allow to cure for the required time according to the manufacturers recommendation
10. Think Beyond the Fence Line
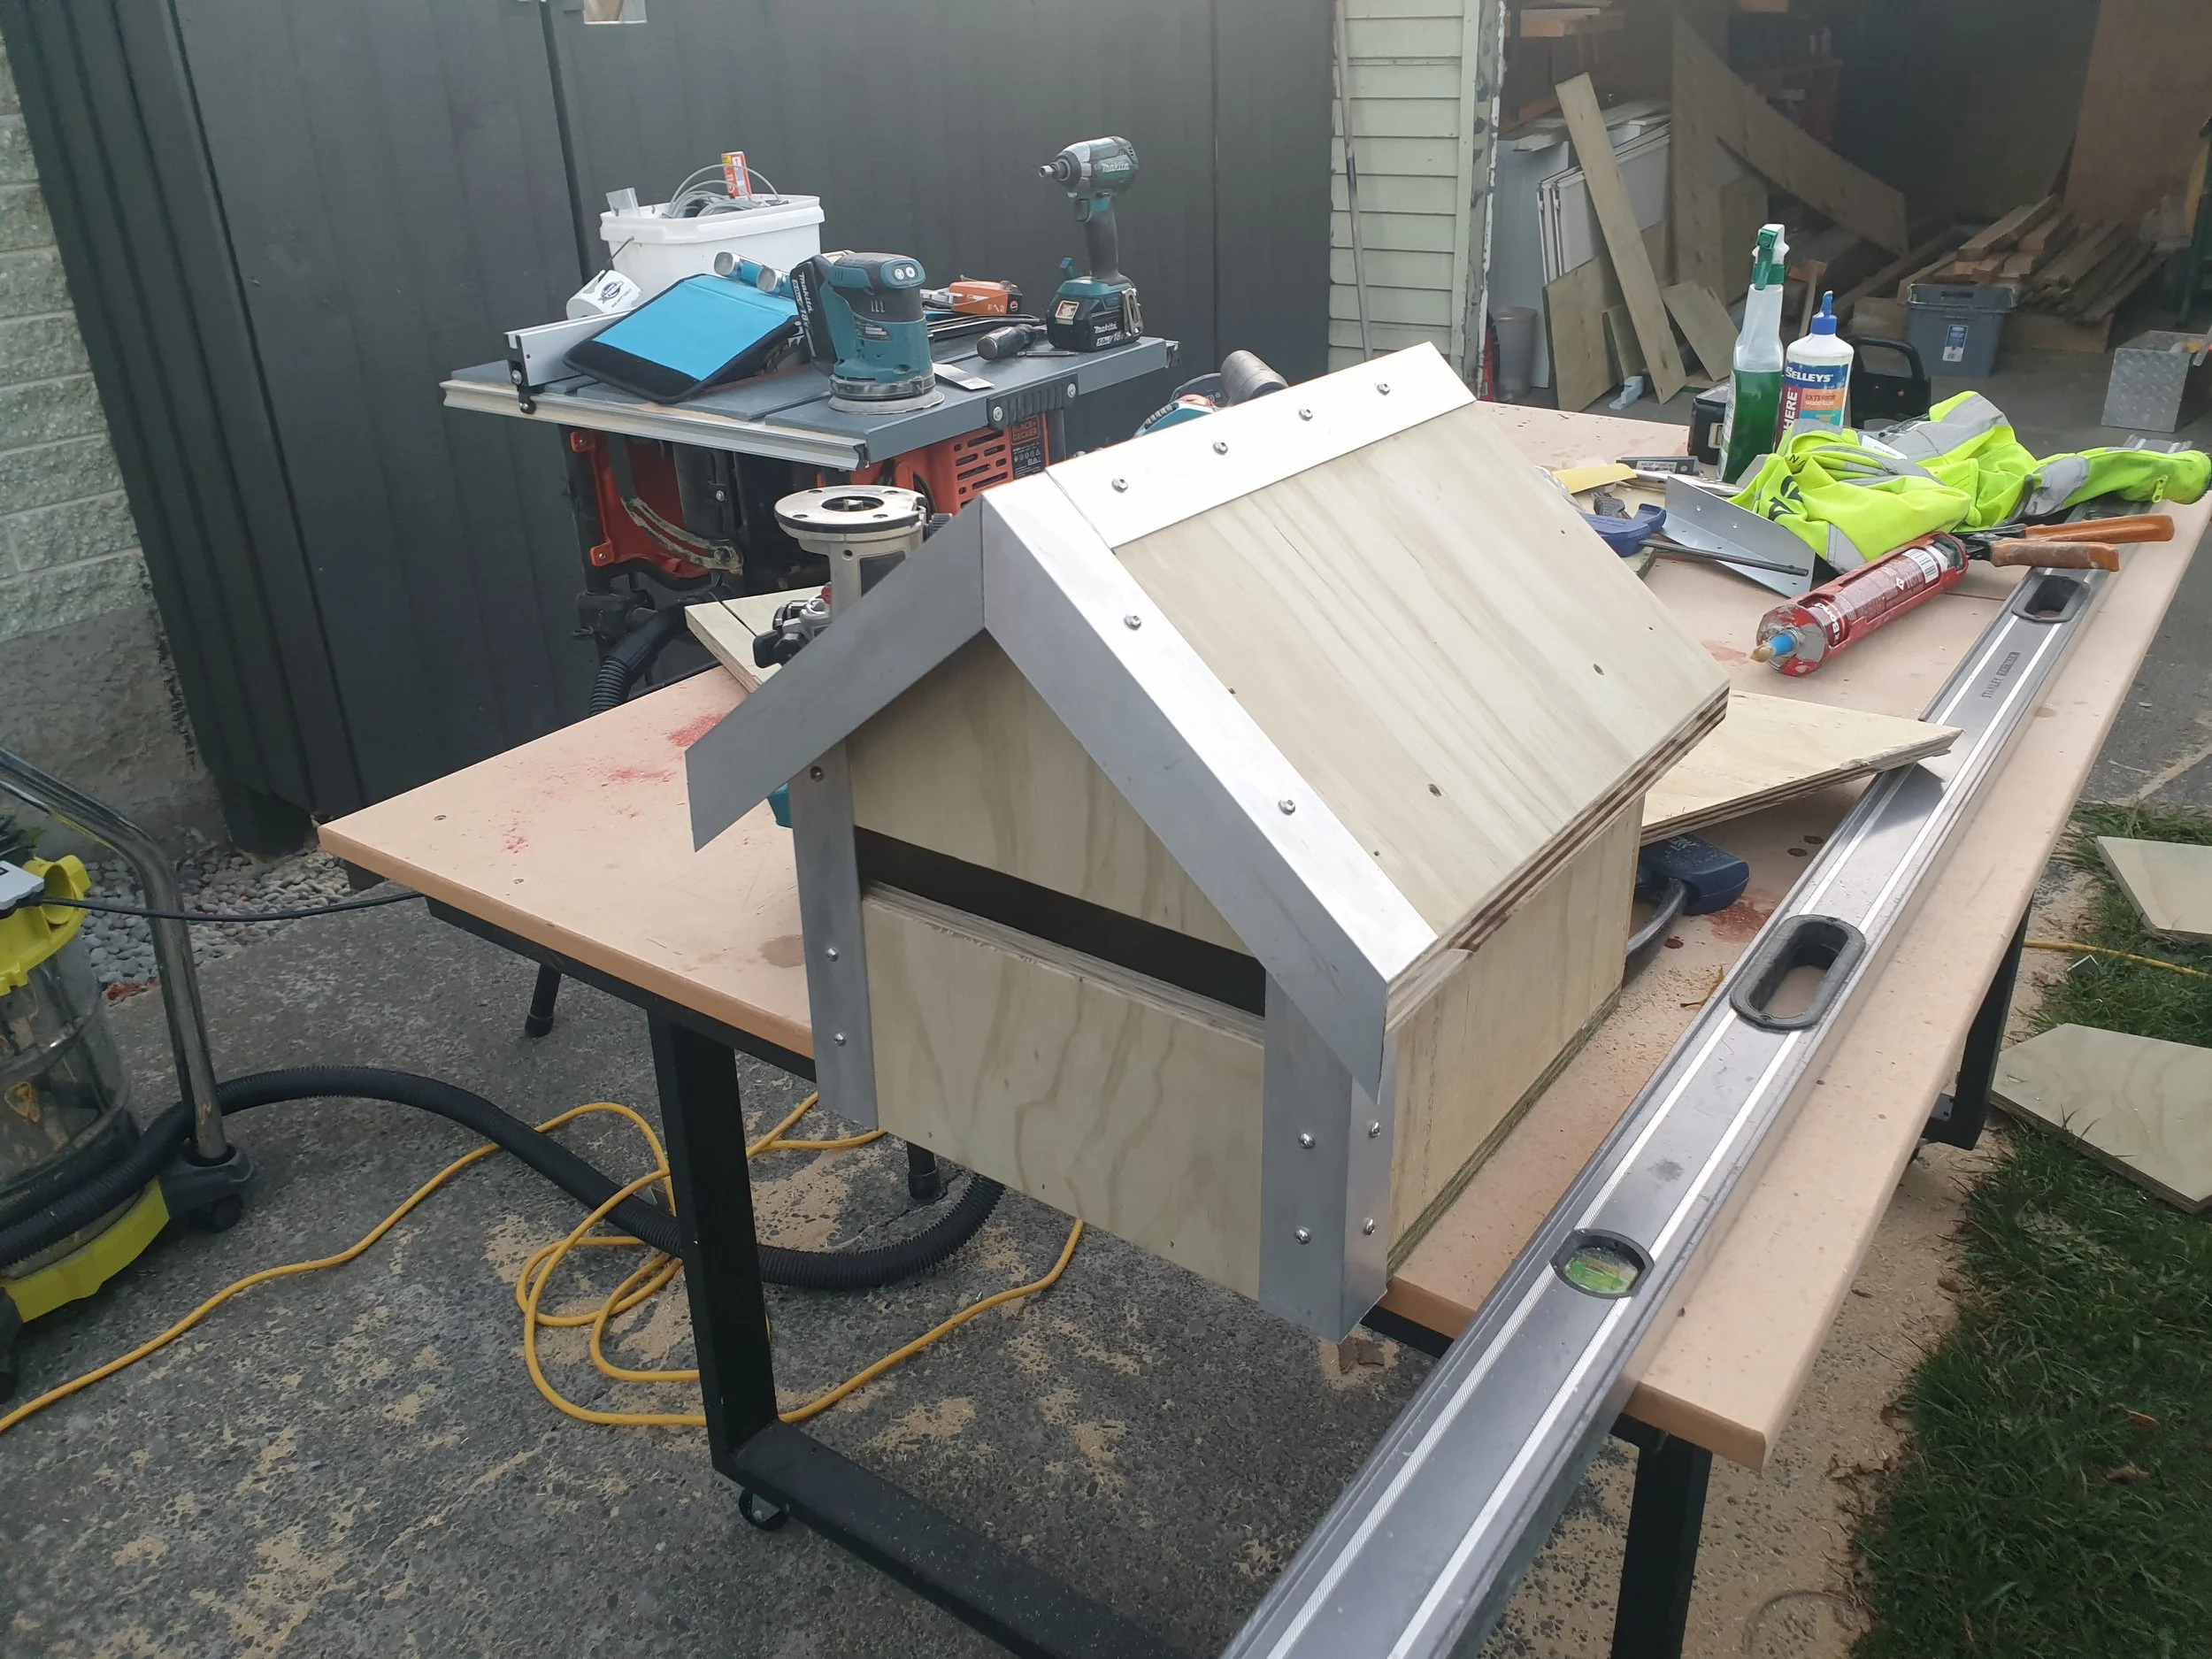
Recycling leftover materials from this renovation to construct a new mail box
A new front fence is also an opportunity to:
Integrate or upgrade your mailbox
Reuse offcuts creatively
Add small design details that lift street appeal
Custom-built mailboxes can be incorporated into the fence design, but quality store-bought options work just as well.
Summary
Building a quality timber paling fence starts long before the first post goes in the ground. With proper preparation, checking local council rules, setbacks, and any covenants, confirming your legal property boundary (and consulting your neighbor if altering a shared boundary) you set yourself up for a smooth build.
Selecting straight, high-quality, appropriately aged timber ensures posts, rails and palings will perform over time, while calculated post spacing prevents sagging and deflection.
For gates, properly braced and deep-set posts are essential to handle constant movement, and all posts should be concreted with the correct mix for your situation, fully braced and plumb before the pour.
Using durable, corrosion-resistant fixings and following basic carpentry principles—keeping everything level, plumb, square, and aligned ensures a fence that not only functions but also looks great. Attention to small details, like flush screw fixing, protecting footpaths during concrete work, and integrating wow-factor elements such as mailboxes, elevates the overall finish.
Here at Vaai Ltd, we combine technical expertise with hands-on craftsmanship. With our long history of building, we can guide you through everything from planning to completion.
If you’re considering a fence renovation or renewing your boundary fence, contact us today for professional advice and workmanship you can trust.